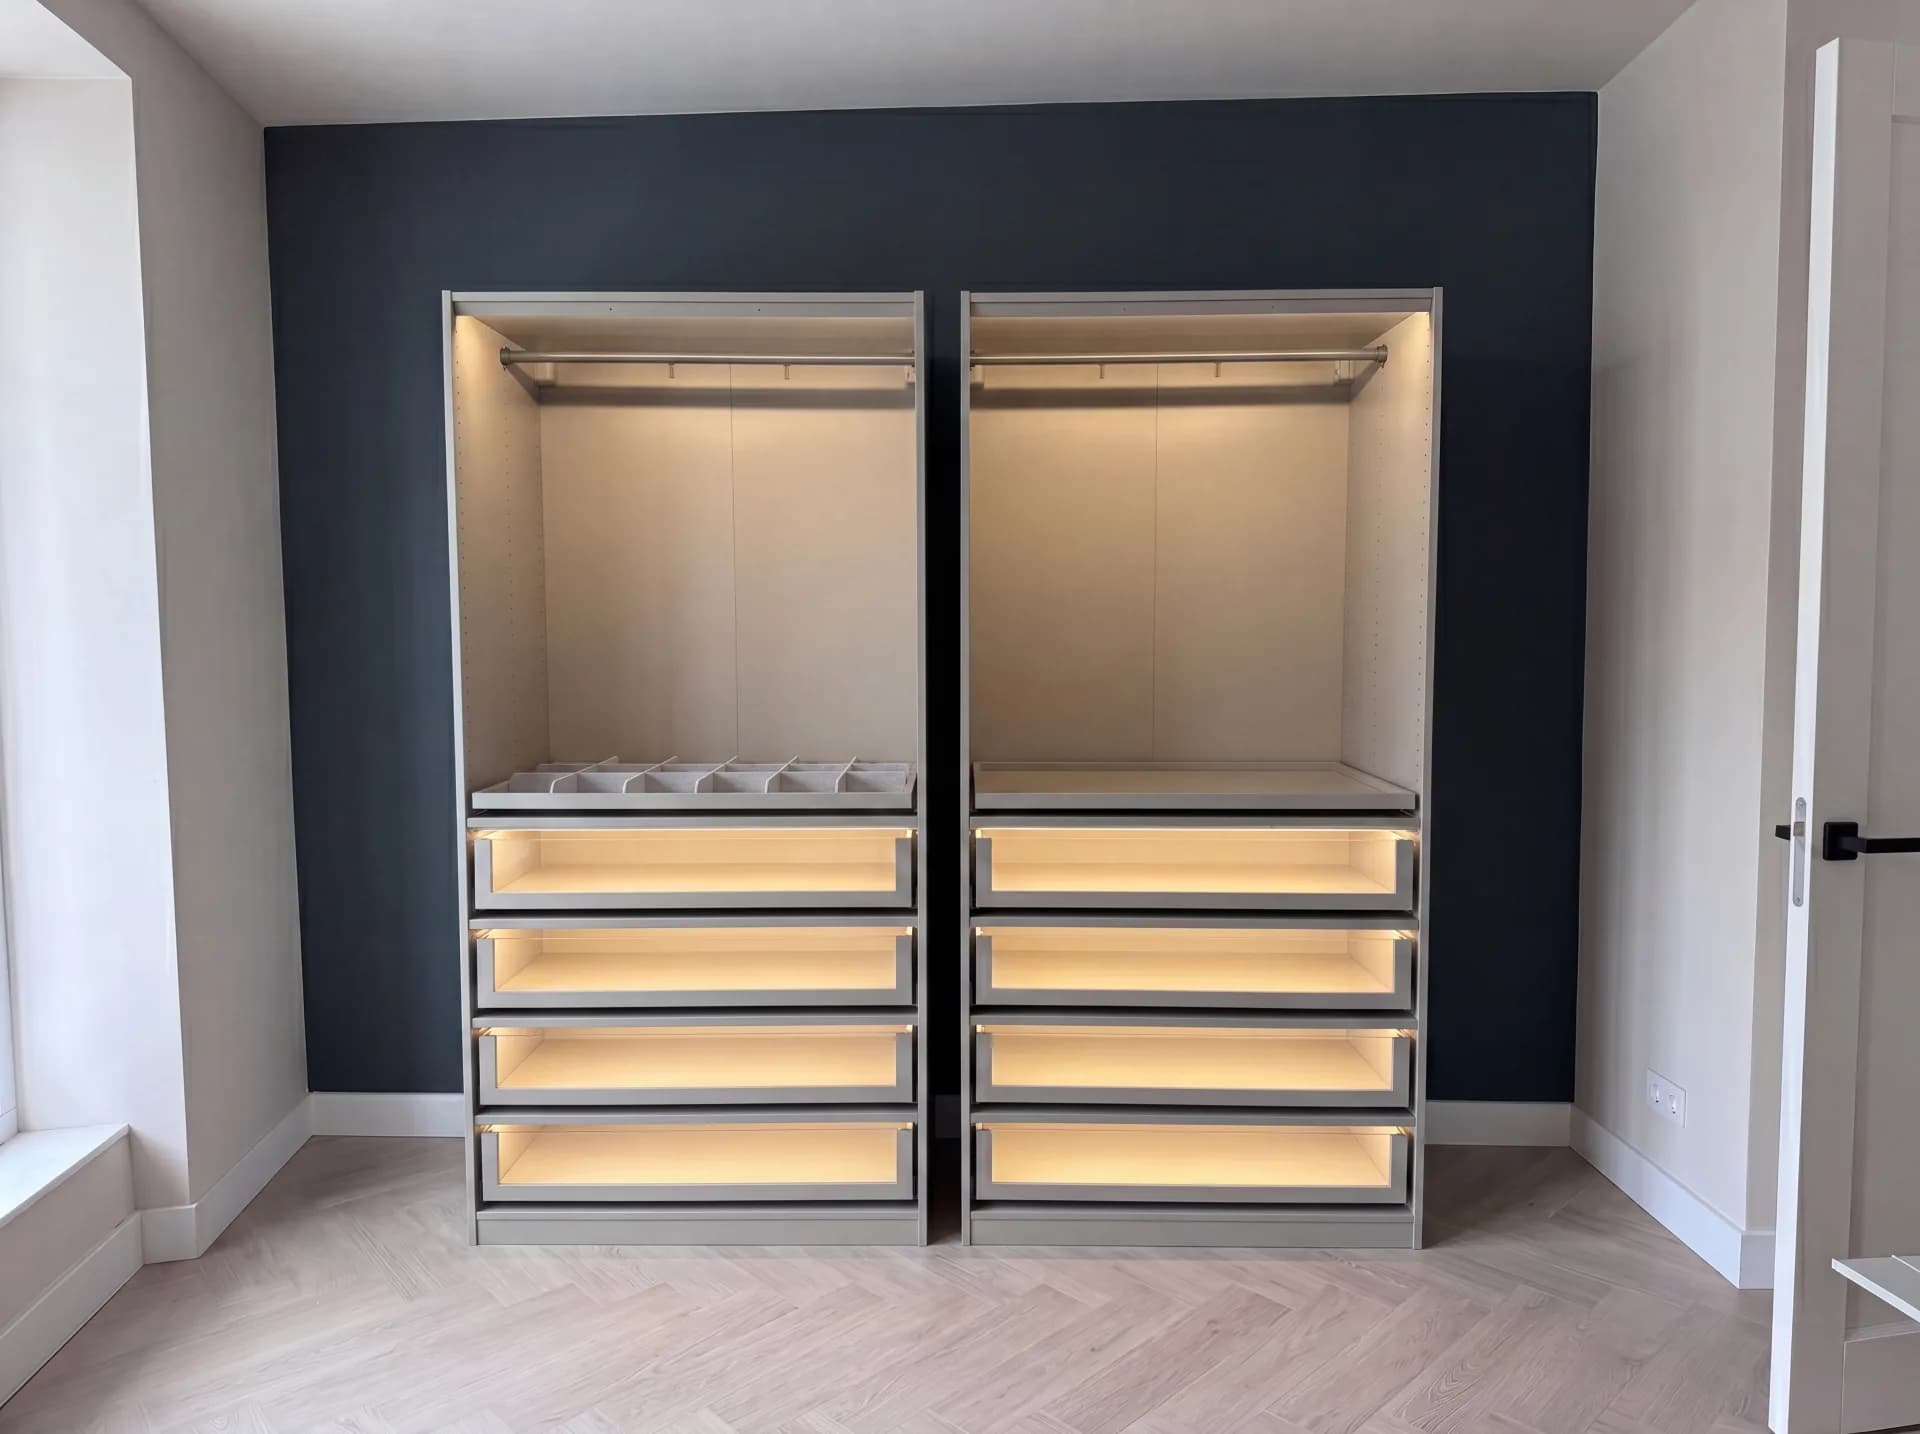
01 — Detail
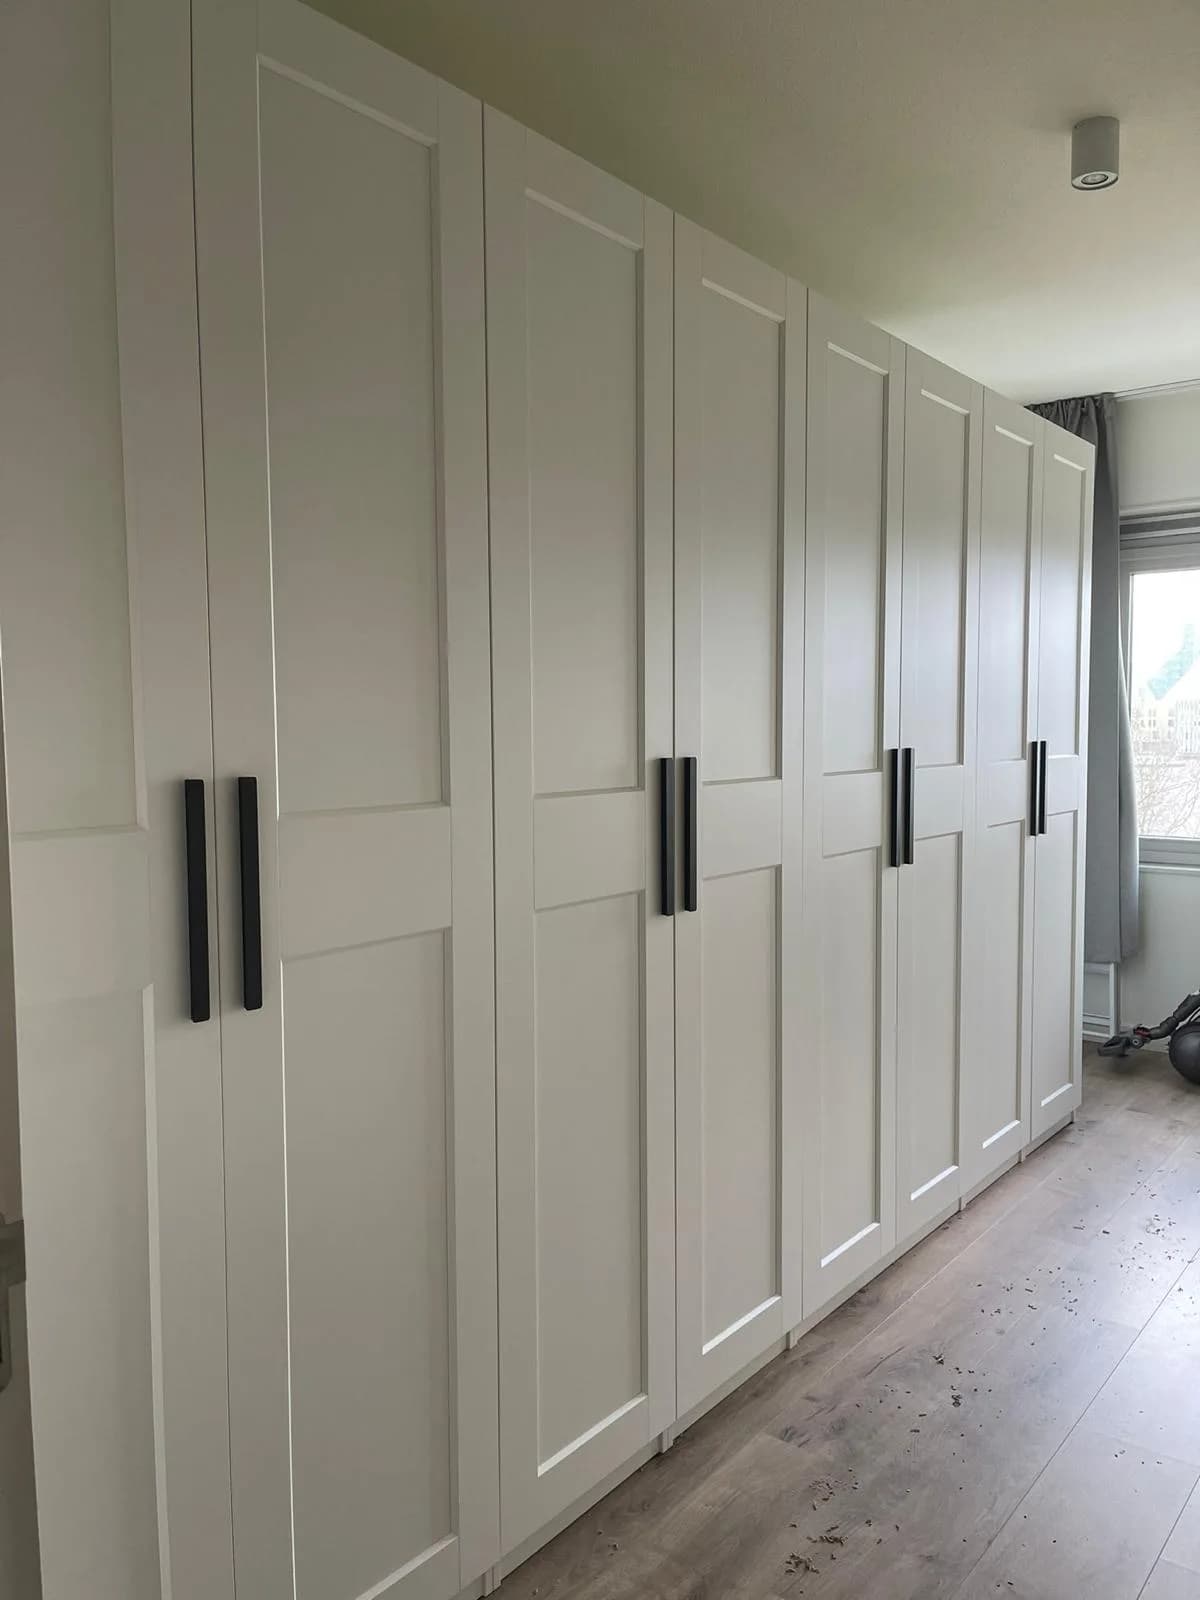
Sliding doors clean in the track.
Sliding-door systems from Hülsta, Bo Concept or an import brand are set level in the track. No grinding, no skewed close, no ticking top rail.
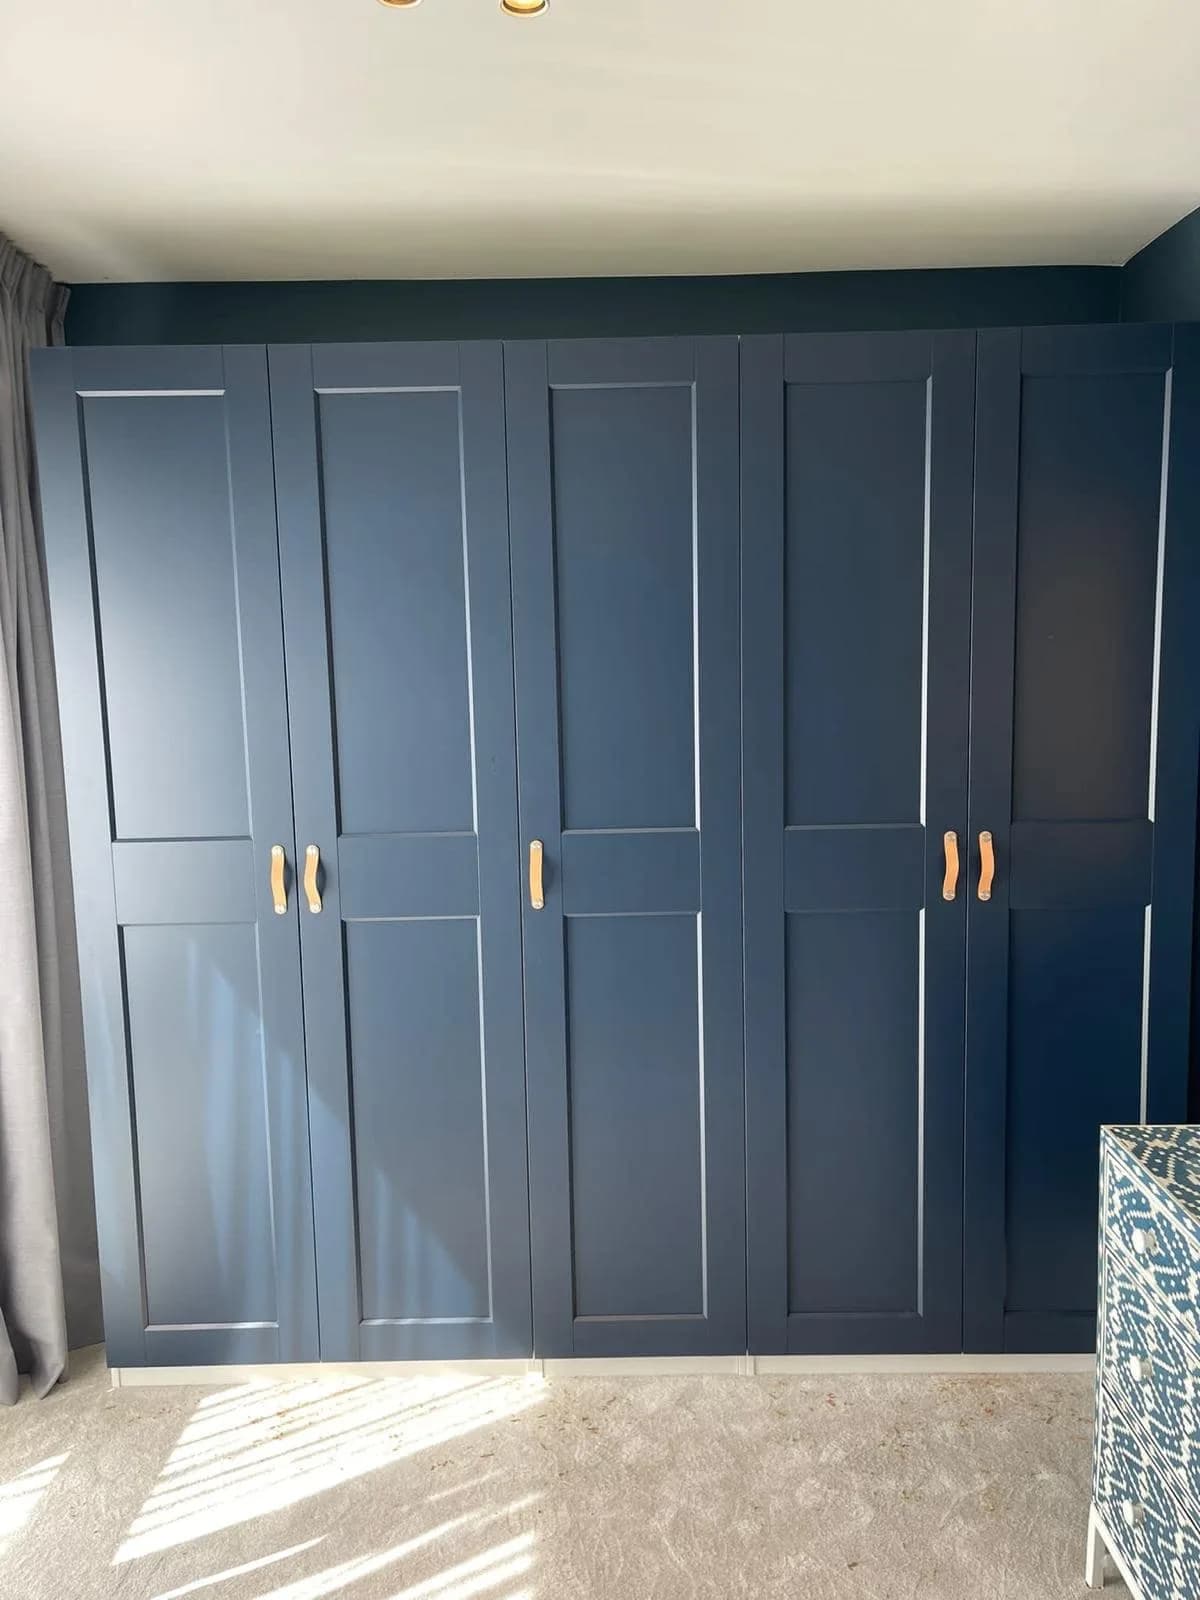
Furniture assembly
A Hülsta wall system or a Karwei shelving unit, we assemble both.
Book an appointmentWith a wardrobe from Hülsta, Bo Concept, a DIY chain or an imported brand, the work starts with two questions: which connecting hardware is inside, and what is the wall made of. Those two decide the tools, the order of work and the fixing. We read the manufacturer's manual, recognise the hardware from the drill holes, and only choose a plug after sounding the wall. Even without a manual, the wardrobe goes up.
Scope of work
Brands
Hülsta wall systems, Bo Concept, Beter Bed, Kwantum and Karwei — including second-hand or imported units with no manual. IKEA wardrobes have their own page.
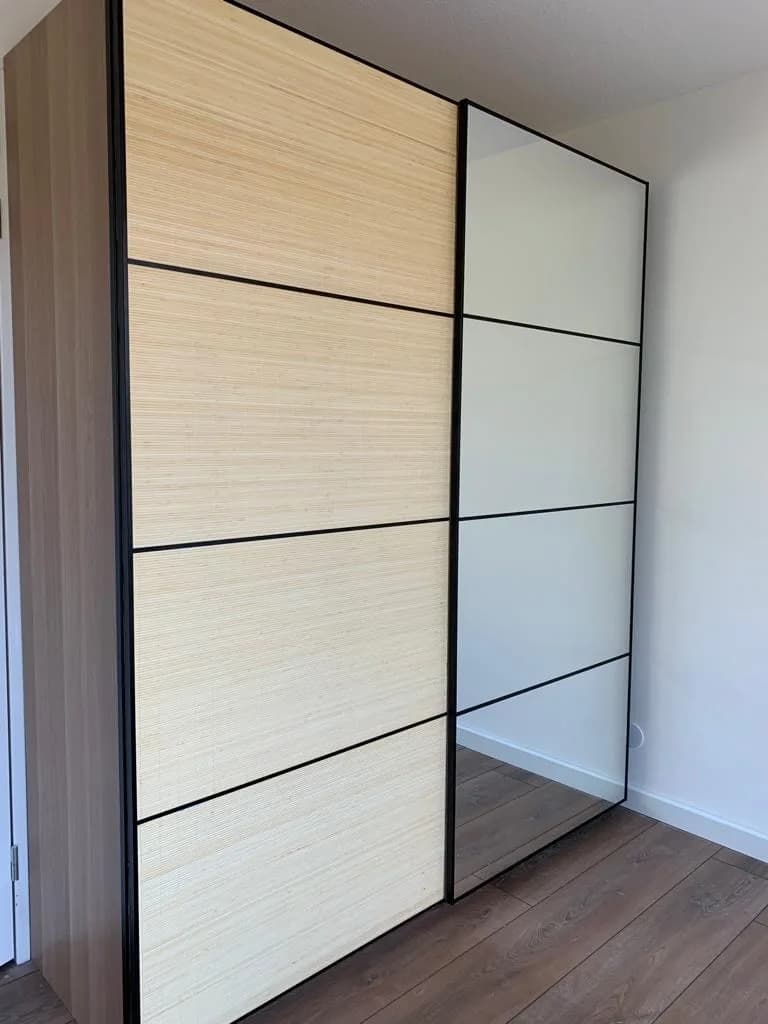
Sliding doors in the track
Sliding-door systems set level in the track, soft-close tested, no scraping doors.
Drawer layout to spec
Blum or Hettich fittings adjusted per the manufacturer's manual, drawer organisers placed to fit.
Lighting & anchoring
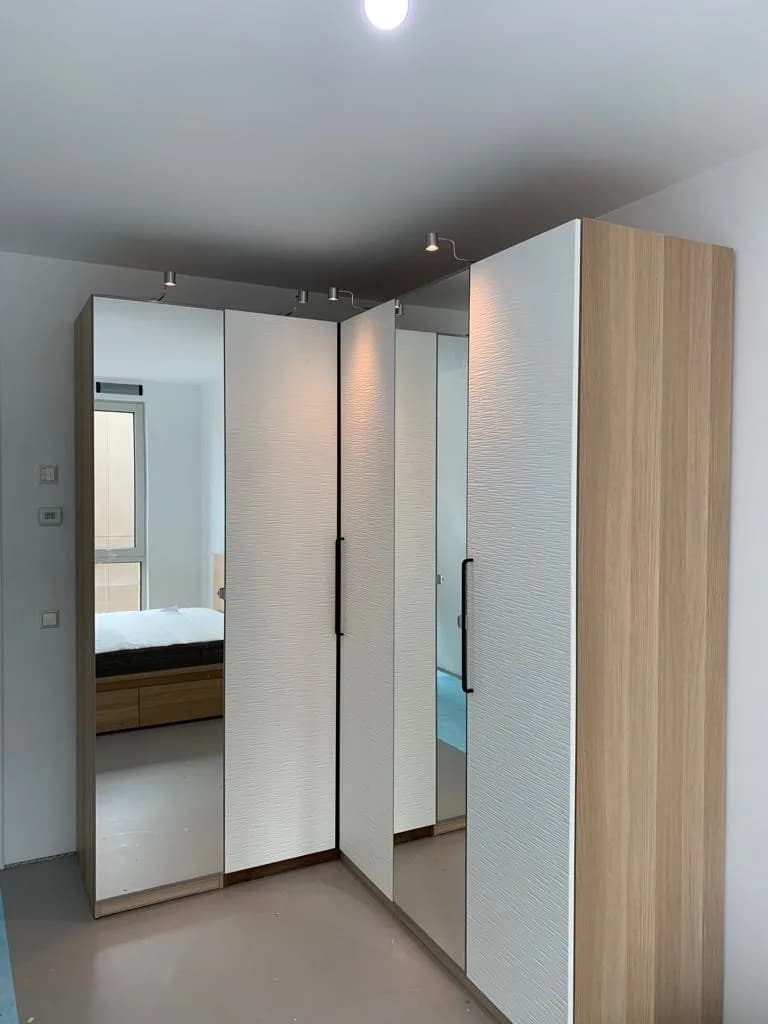
Integrated LED lighting wired, anchoring matched to plasterboard, sand-lime brick or concrete.
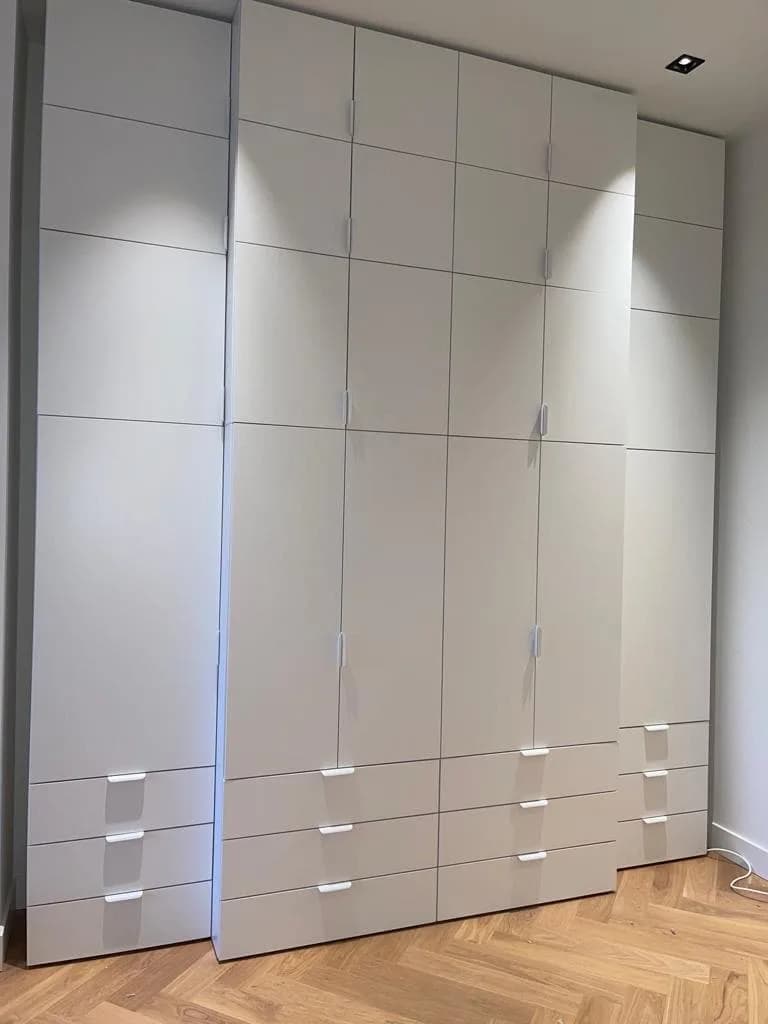
Hülsta, Bo Concept, Karwei, Kwantum or Beter Bed: we read the manufacturer's manual and carry tools for every lock and fitting.
01 — Detail
Sliding-door systems from Hülsta, Bo Concept or an import brand are set level in the track. No grinding, no skewed close, no ticking top rail.
02 — Detail
Blum, Hettich and Salice hinges are adjusted in three directions: depth, height and overlay. Soft-close tested, push-open calibrated, opened pressure-free.
03 — Detail
Plasterboard, sand-lime brick, concrete or metal stud: we pick the right plugs and length up front. No loose rails, no torn walls if they tip.
On the job
A wall tells you what it is. If it sounds hollow and the bit springs back as it bites, there is plasterboard on a frame. If fine white dust comes out and the bit cuts evenly hard, it is sand-lime brick. Grey dust with grit and a bit that bounces means concrete, so hammer action goes on. If the bit sinks almost by itself and the dust falls as a light powder, it is aerated concrete and hammer action must go off, or you blow the hole wider than the plug. We always scan for pipes and cables before a hole is made. How this works out with IKEA systems is set out under IKEA wardrobes.
A 16 millimetre side panel almost always carries cam locks: a round cam you turn half a revolution that pulls the panel towards it. From 19 millimetres you meet Euro screws and sometimes biscuits, and in the higher segment metal draw fittings that you pre-tension with an Allen key. The difference is not cosmetic: a cam turned too far breaks out of the chipboard and is worthless afterwards, whereas a Euro screw is meant to be tightened firmly. So we look at the holes in the panel first — their shape says exactly which fitting belongs there and how much force it will take.
Blum, Hettich and Salice all work with three adjustments, and none of them is decorative. The front screw moves the door left and right, the middle one sets the door deeper or shallower against the carcass, and the third raises or lowers it. A gap that is wider at the top than at the bottom is cured with the first, not the third. Soft-close adds a damper set to the width of the door: too light and the door slams, too heavy and it stops a centimetre short. We adjust every door only once the wardrobe is level and fixed.
Second-hand, imported, or a wall system bought fifteen years ago: the paperwork is gone and the maker no longer supplies it. Then we work backwards. The drill holes in the panels fix the order, the panel thickness fixes the hardware, and the keyhole slots in the back panel fix which way is up. We photograph every step and keep the fittings for each shelf in a separate bag, so nothing is left over at the end that nobody can place. We use the same method for branded beds, see bed assembly for every brand.
Hardly any room corner is square, and across a three-metre run that shows itself hard: on one side the wardrobe sits tight against the wall, on the other a centimetre gapes open. That calls for a filler strip, not a bead of sealant. We measure the deviation over the full height, mark it on a separate strip and set that against the wardrobe rather than pulling the wardrobe out of square. If a skirting board or a service duct is in the way, it is scribed out. In kitchens this is daily work, see kitchen assembly.
Many wall systems come with LED strips and a driver that plugs into an ordinary socket. We connect that, route the cable away behind the unit and place the driver where it stays reachable. What we do not do is wire into the consumer unit or fit a new socket outlet; that belongs with a qualified electrician, and we would rather say so beforehand than halfway through. In an office we set out that boundary at the intake — see office and living room assembly.
Sources
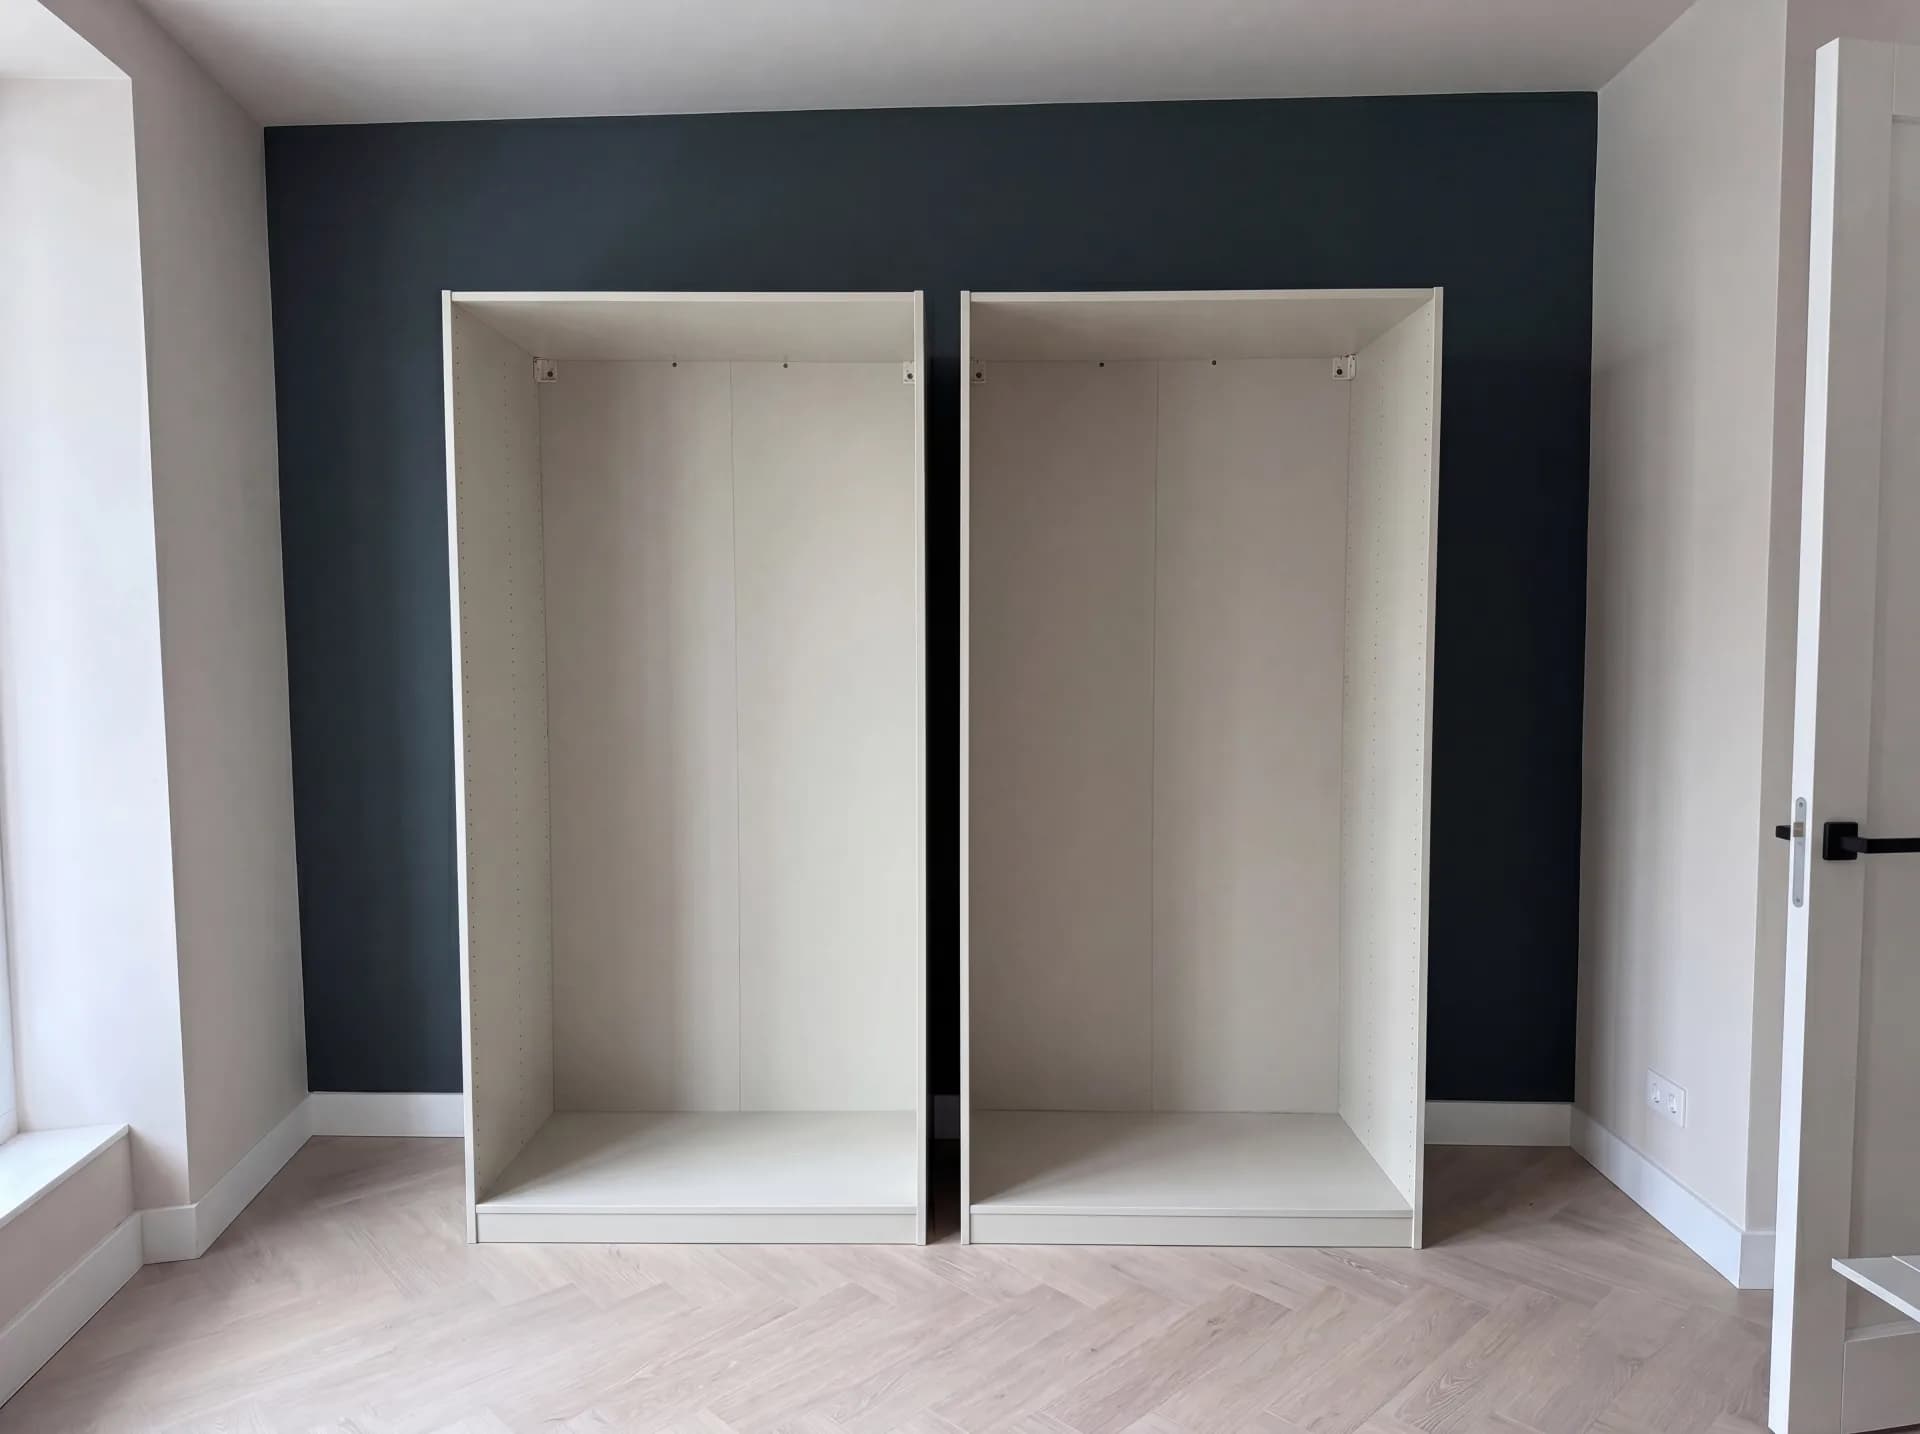
Before and after
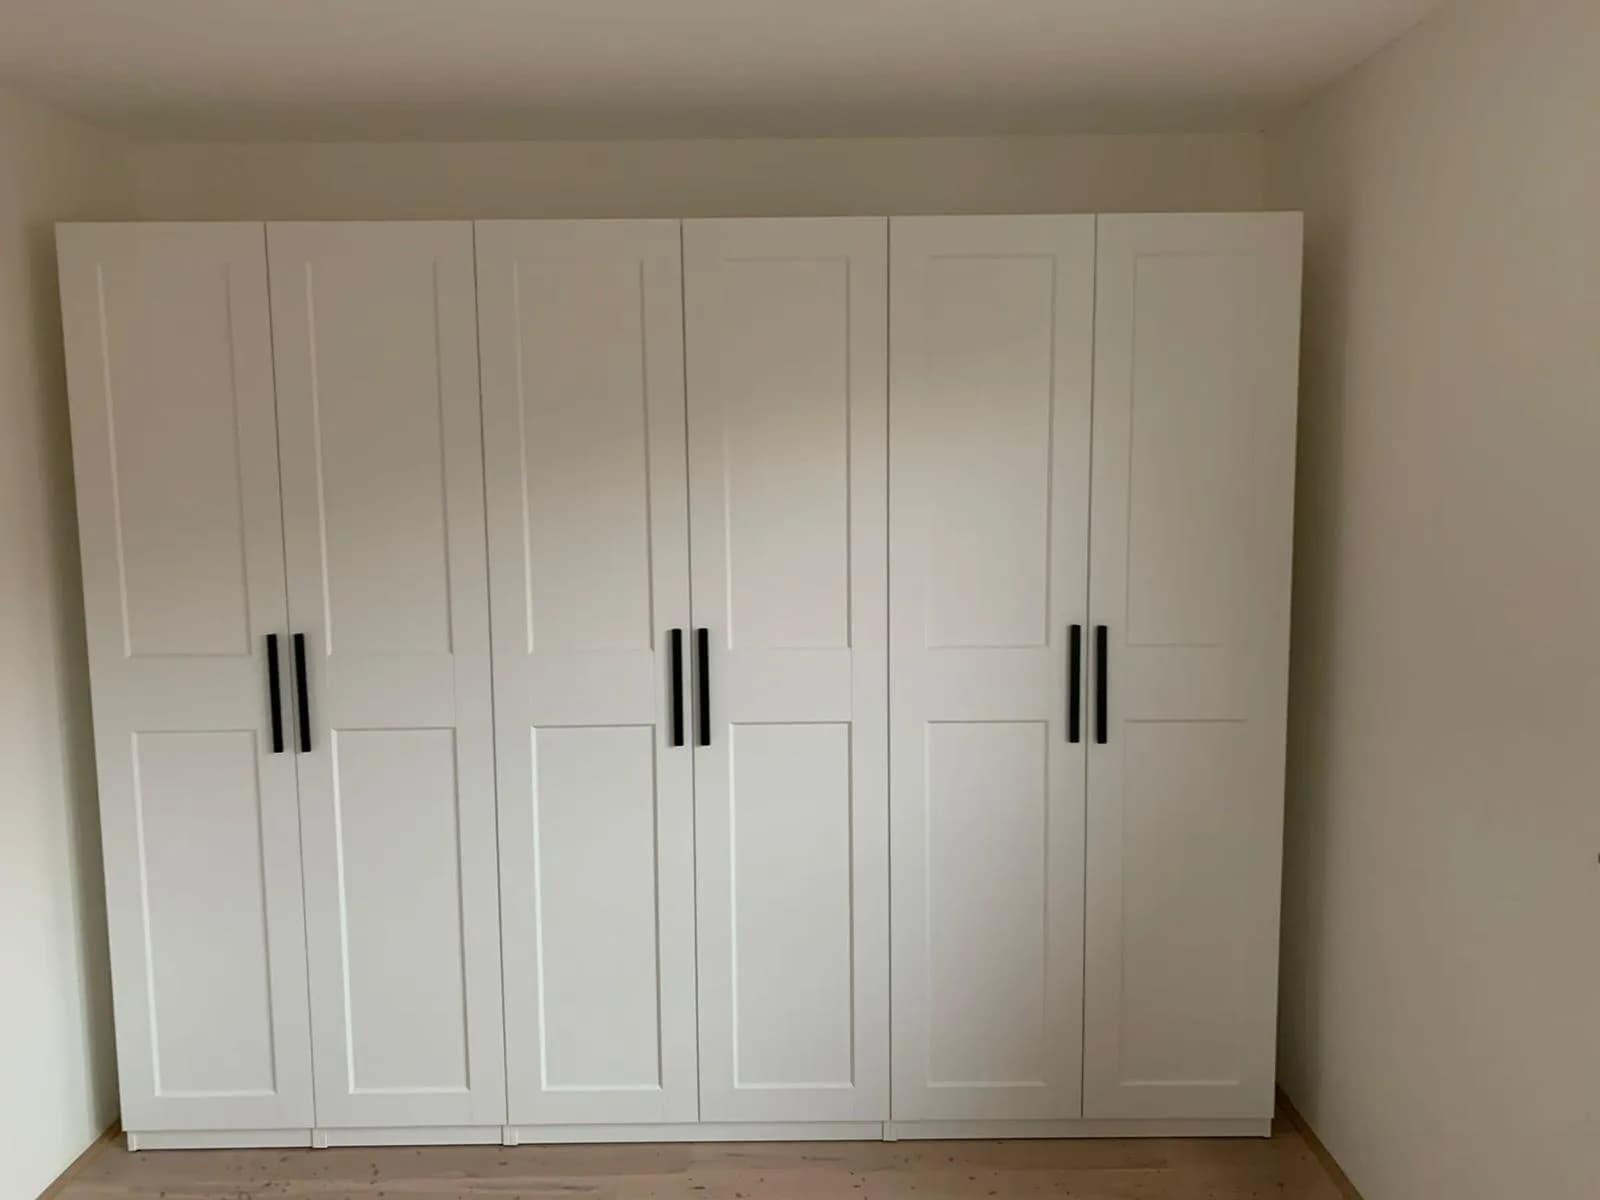
A wardrobe levelled, set in the track and ready to use in a single day.
At a glance
| Wall type | How to recognise it | Fixing | Drilling |
|---|---|---|---|
| Plasterboard on metal studs | Sounds hollow, the bit breaks through after twelve millimetres | Cavity anchor, or a screw into the stud itself | No hammer action, low speed |
| Plasterboard on timber studs | Hollow, but the bit finds timber every 40–60 cm | Wood screw straight into the stud | No hammer action |
| Sand-lime brick | Fine white dust, evenly hard going | Nylon plug in a cleanly blown-out hole | Light hammer action allowed |
| Aerated concrete | The bit sinks almost by itself, powdery light dust | Dedicated aircrete plug or spiral anchor | Hammer action off |
| Concrete | Grey dust with grit, the bit bounces | Concrete screw or through-bolt anchor | Hammer action on, cool the bit |
| Service wall with pipework | Hollow, but the detector gives a signal | Anchor into the structural wall behind it | Locate the services first |
Price
On request
Fixed price up front after a short intake. No surprises on the invoice, no extra work without sign-off.
Practical
Questions
Yes, including the modular MEGA-design line. Send us the model and year beforehand so we bring the right manual and the right fittings.
Blum, Hettich and Salice hinges are adjusted in three directions: depth, height and overlay. Soft-close is tested and push-open calibrated.
Yes, second-hand or imported as well. We first check which fittings are in it before we start, and we carry tools for every lock and fitting type.
We sound the wall, look at the colour and grain of the dust and feel the resistance of the bit. Those three together say whether it is plasterboard, sand-lime brick, aerated concrete or concrete. Only then do we choose the plug, and where there is doubt we make a test hole somewhere that will later sit behind the wardrobe.
Yes, but we discuss the limits first. Cam locks and wooden dowels lose part of their grip on a second build, and a blown-out hole is filled with a timber plug or replaced by a through fixing. We will tell you when a panel is finished — driving another screw into it is pointless.
Then a filler strip goes between wardrobe and wall, cut to the real line of the wall. The wardrobe itself stays square and level; the strip absorbs the difference. That is more stable, and it looks better than a wardrobe pulled crooked against the wall.
Also relevant
Book via WhatsApp or the contact form. We reply within 24 hours.
Book an appointmentLast updated