Skip to content
  • Fixed price up front
  • Travel costs included
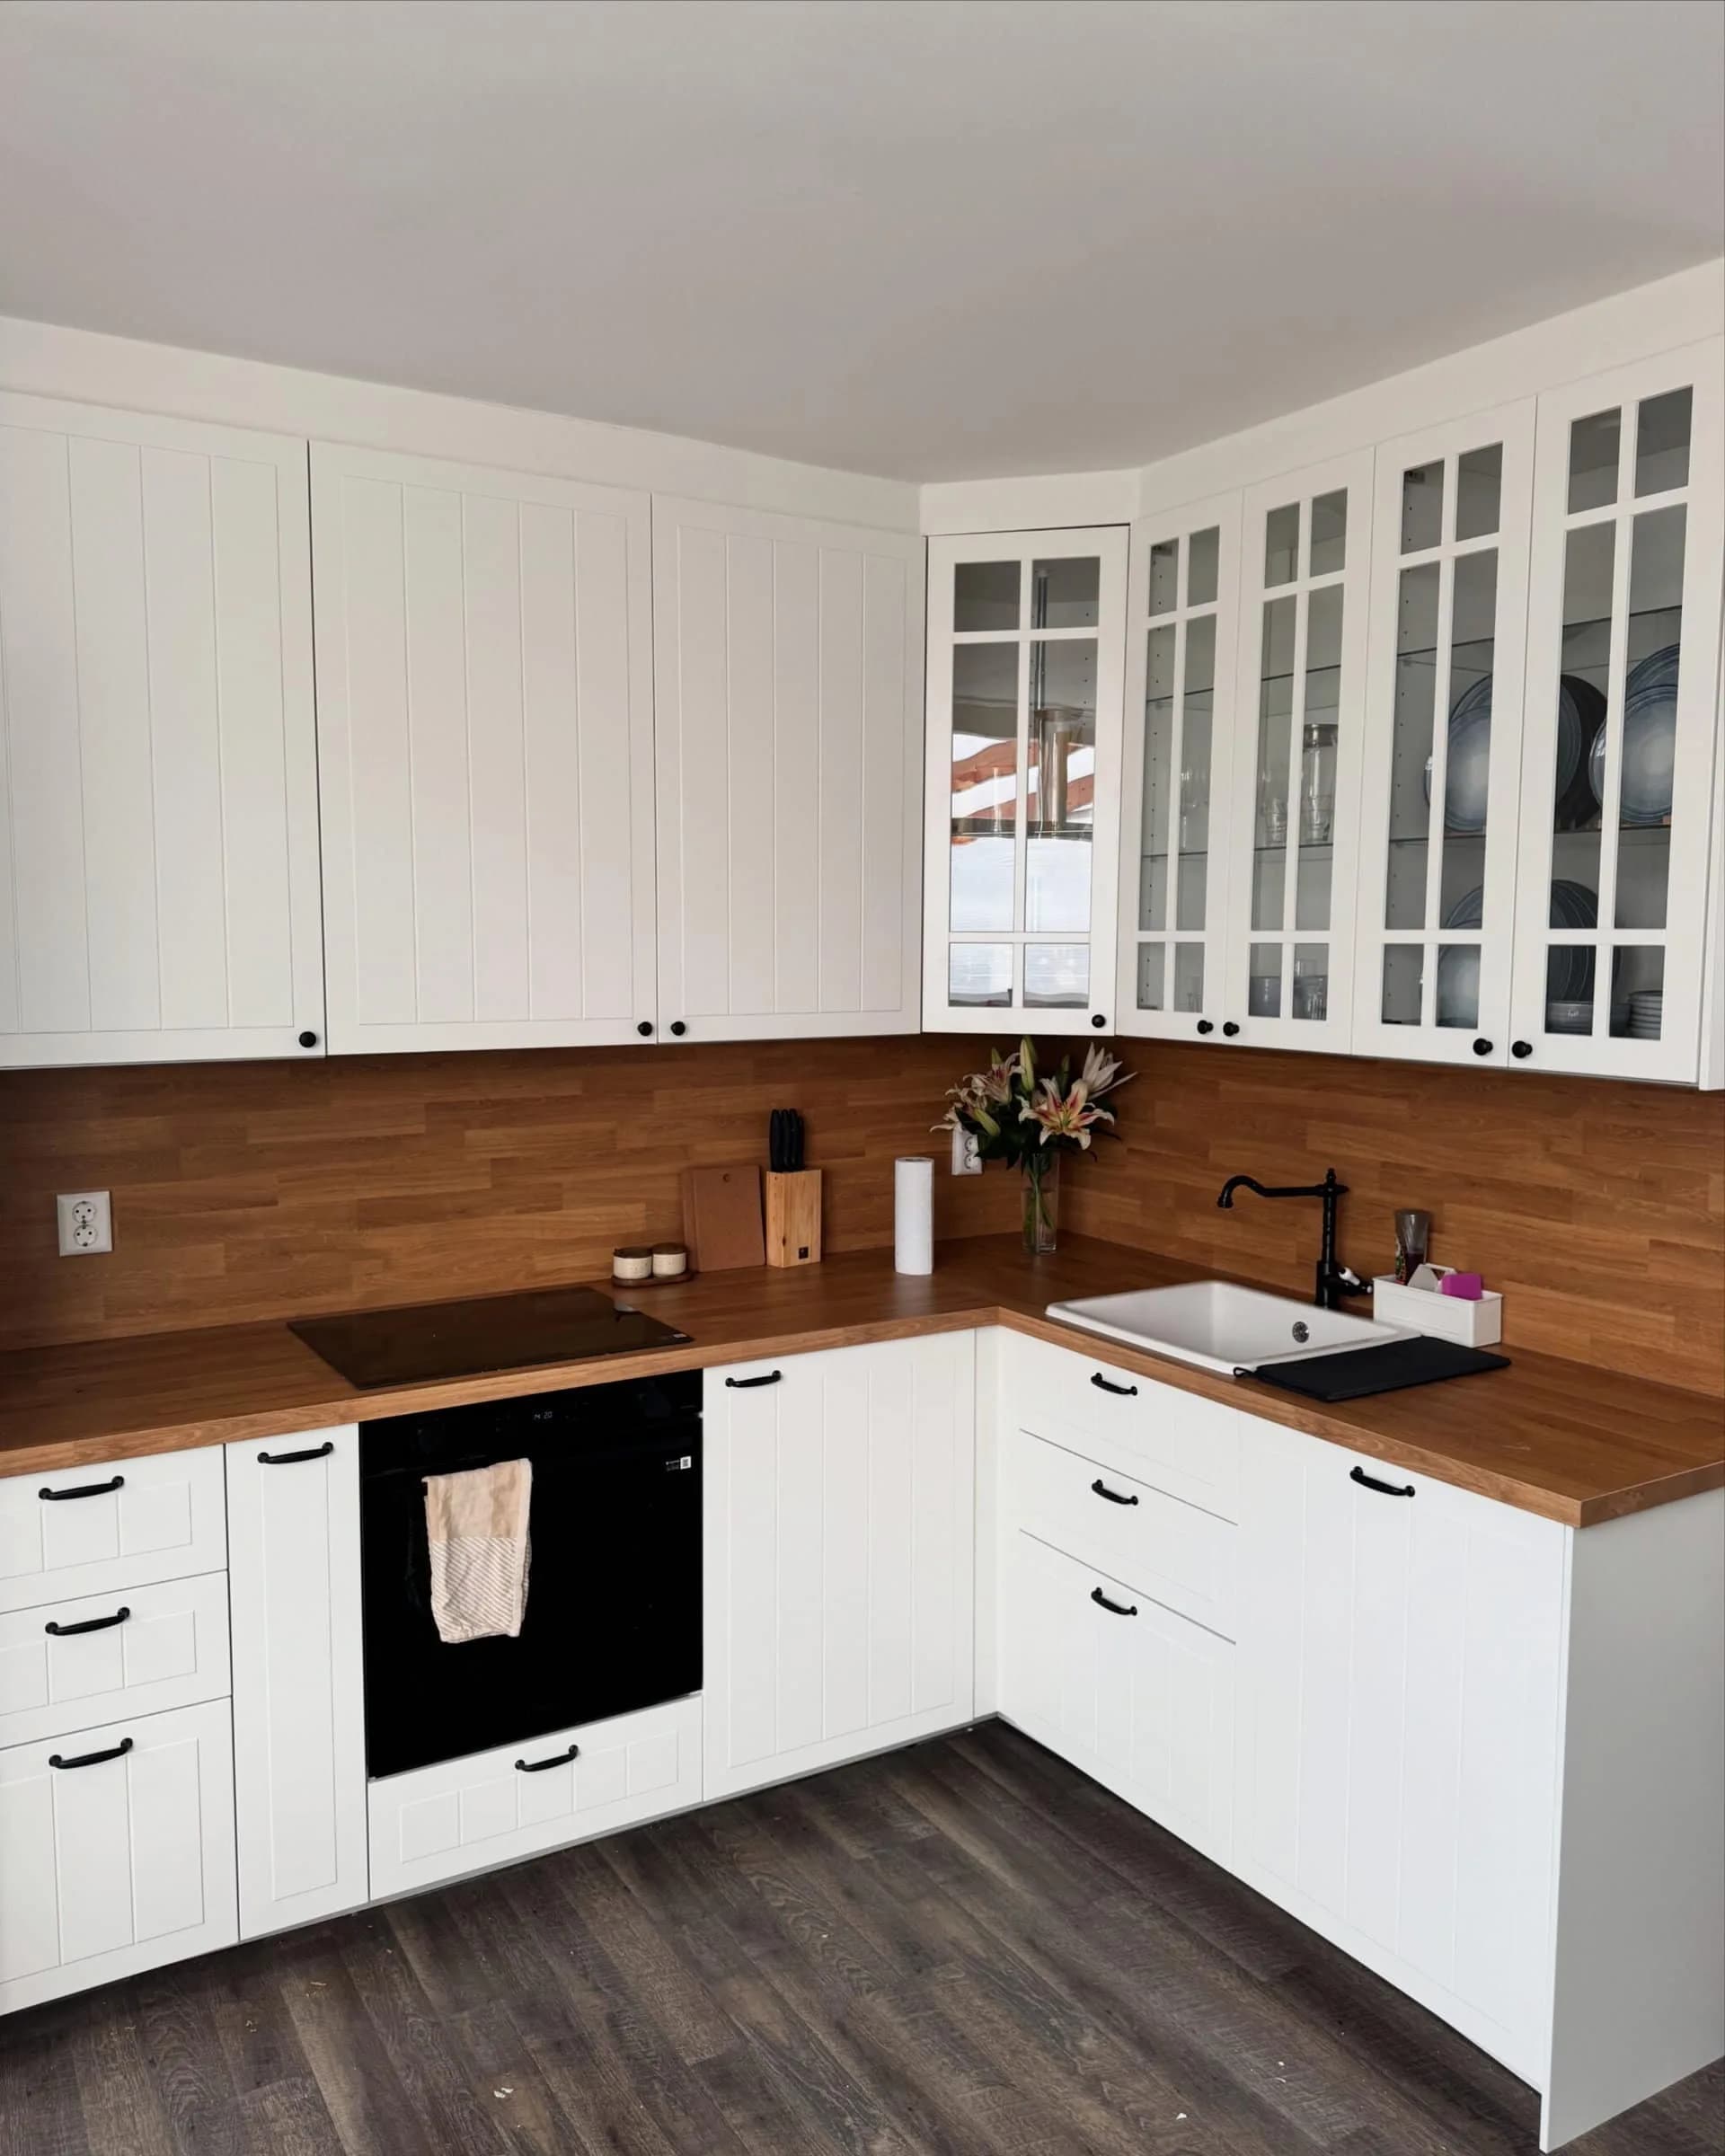
White L-shaped IKEA kitchen with a wooden worktop and wooden splashback, black handles and glass-fronted wall cabinets

IKEA assembly

IKEA kitchen assembly

Complete installation of your IKEA METOD kitchen.

Book an appointment

We assemble a complete IKEA kitchen in the order METOD itself imposes: first the suspension rail level across the full wall, then the cabinets onto it, then the worktop, and only at the end the fronts and the appliances. We are fitters, not installers — gas is always left to a registered installer and a hard-wired electrical connection to an electrician. What we do and do not do is set out in one table below.

Scope of work

  • Manual

    We know the METOD manual by heart: which panel goes where, which screw goes in which hole, and in what order the cabinets go up.

  • Measurements

    The lower suspension rail sits at 82 centimetres with an 8 centimetre plinth and at 85 with an 11 centimetre plinth, measured at the underside of the rail from the highest point of your floor.

  • Fixed price

    You receive one figure up front, calculated from your order list and photographs of the room. Whatever is not included is stated in the same email.

  • Appliances

    We fit the built-in appliances and plug them into an existing socket or an existing three-phase cooker outlet. A hard-wired connection is work for an electrician, gas for a certified installer.

  • Fixings

    METOD cabinets come without fixings, because IKEA does not know your wall. We bring material for brick, concrete, aerated concrete and plasterboard.

  • Finish

    Plinths cut to size, filler panels scribed against the wall itself, cover panels on the tall units, sealant only where it belongs.

  • Clean-up

    Packaging and polystyrene leave with us. You are left with a clean kitchen, not an IKEA box in the hallway.

  • Planning

    Weekday or Saturday, you decide. An average kitchen takes us one to two days, depending on the number of cabinets, the corners and the appliances.

Fully assembled cooking island with worktop cut to size and plinths finished

01 — Detail

The kitchen day, hour by hour.

We start by unpacking and counting: every box against the delivery note, so that a missing cabinet is known at eight in the morning and not at four in the afternoon. Then the suspension rail goes on the wall, level, measured from the highest point of the floor. The wall units follow, unless there is a tall unit at the end of the run, because that one goes up first. By the coffee break the base units stand on their adjustable feet and the laser has gone round them. Around midday the worktop arrives: cutting to length, marking out the openings, sawing, sealing the cut edges. The afternoon is for the appliances, the fronts and the drawers. At the end of the day the plinths and filler panels go on and every door is adjusted, because doors only sit right once the rest is standing.

02 — Detail

The measurements the whole kitchen rests on.

Everything starts at the highest point of the floor, because that is where we measure from. The lower suspension rail hangs at 82 centimetres if your plinth is 8 centimetres and at 85 centimetres with an 11 centimetre plinth, measured at the underside of the rail. If you want to check it yourself: cabinet height plus leg height minus 6. The upper rail sets the space between worktop and wall unit, and that is 60 centimetres. Between the lower and the upper rail there is 120 centimetres at a kitchen height of 208, 140 at 228 and 160 at 248. Those figures are not negotiable, and they are precisely why a kitchen that looks like one straight line really is one straight line.

03 — Detail

Why there is no rate card here.

Eight base units with a laminate worktop and one oven is a day's work. Those same eight cabinets with a wall of tall units, an island, three built-in appliances and four filler panels against a wall that is square nowhere is a different job, with exactly the same number of cabinets. Publish one rate for both and you correct it on the day itself, which is the conversation nobody wants to have once the worktop is down. What does determine the price we can name cabinet by cabinet: how many base, wall and tall units, how many drawers, whether there is a corner run or an island, how many built-in appliances, which worktop you chose and how many cut-outs it needs, how many filler panels your walls call for, what the cabinets will hang on (brick, concrete, aerated concrete or plasterboard), whether the room is ready, and which floor you live on and whether there is a lift. Send us your plan from the IKEA Kitchen Planner or your order confirmation, with photographs of the wall, the corner and the meter cupboard. We calculate a fixed amount from that, and that amount holds.

04 — Detail

What you have ready before we arrive.

The floor laid, the tiles on and the plaster dry, because a kitchen standing on a floor that still has to be laid will have to come out again. Water and electrics in the position the kitchen plan specifies. The boxes indoors in one room rather than in the garage, and the worktop lying flat at room temperature in normal humidity. And the most important line comes from IKEA's own guide: do not strip out your old kitchen until you have every part and appliance for the new one. A single back-order for a single cabinet can take days, and for all that time you have no kitchen.

05 — Detail

Where the assembly stops.

We are fitters, not installers, and that difference is not wordplay. We place your appliance, align it, fix it and keep clear the ventilation space the manufacturer prescribes. We connect it if there is something to plug into: an existing socket, or an existing three-phase cooker outlet that takes a hob with a plug on it. If there is no plug, and that happens more often than people expect because IKEA states itself that not all of its appliances are supplied with a plug or cable, then it is a hard-wired connection and that is work for an electrician, on a dedicated cooker circuit to NEN 1010. Gas we do not do. Connecting a gas hob or gas cooker to the supply is always left to a certified installer. Water we connect to existing inlets; new pipework is for a plumber.

06 — Detail

A wall that is straight nowhere.

In a pre-war house nothing is square, and that is no problem as long as you know where you measure from. We first find the highest point of the floor with the cross-line laser, and that is where the measurement comes from. Whatever the floor drops away after that we pick up with the adjustable feet, and their range is limited: if your floor falls away a long way, you hear that in advance and not once the cabinets are standing. A bulging wall we take up with packers behind the rail, so the rail stays dead straight even where the wall is not. The gap that then remains between the last cabinet and the wall we cover with a filler panel, and we do not cut that straight but scribe it: a block of wood flat against the wall, a pencil held against it, and the block slid from top to bottom along the panel. The shape of your wall is then on the panel and we cut that line. That is the difference between a five millimetre gap filled with sealant and a joint you cannot see.

07 — Detail

What is in the toolbox.

Cross-line laser, cordless driver with adjustable clutch and depth stop, pilot-hole set for every wall type, plunge saw on a guide rail for the worktop, fine-tooth hand saw for the filler panels, 35 millimetre hole saw for the mixer tap. For MAXIMERA drawers we carry the IKEA adjustment keys. Nothing stays manual when a machine can do it more accurately.

08 — Detail

What we leave behind.

A working kitchen, every cabinet level, drawers soft-close, doors flush to the frame. Packaging, polystyrene and stray screws are gone. On the worktop you will find a short maintenance note: which bolts to retighten in six months, and which UTRUSTA hinge to take up a turn if a door starts to drop.
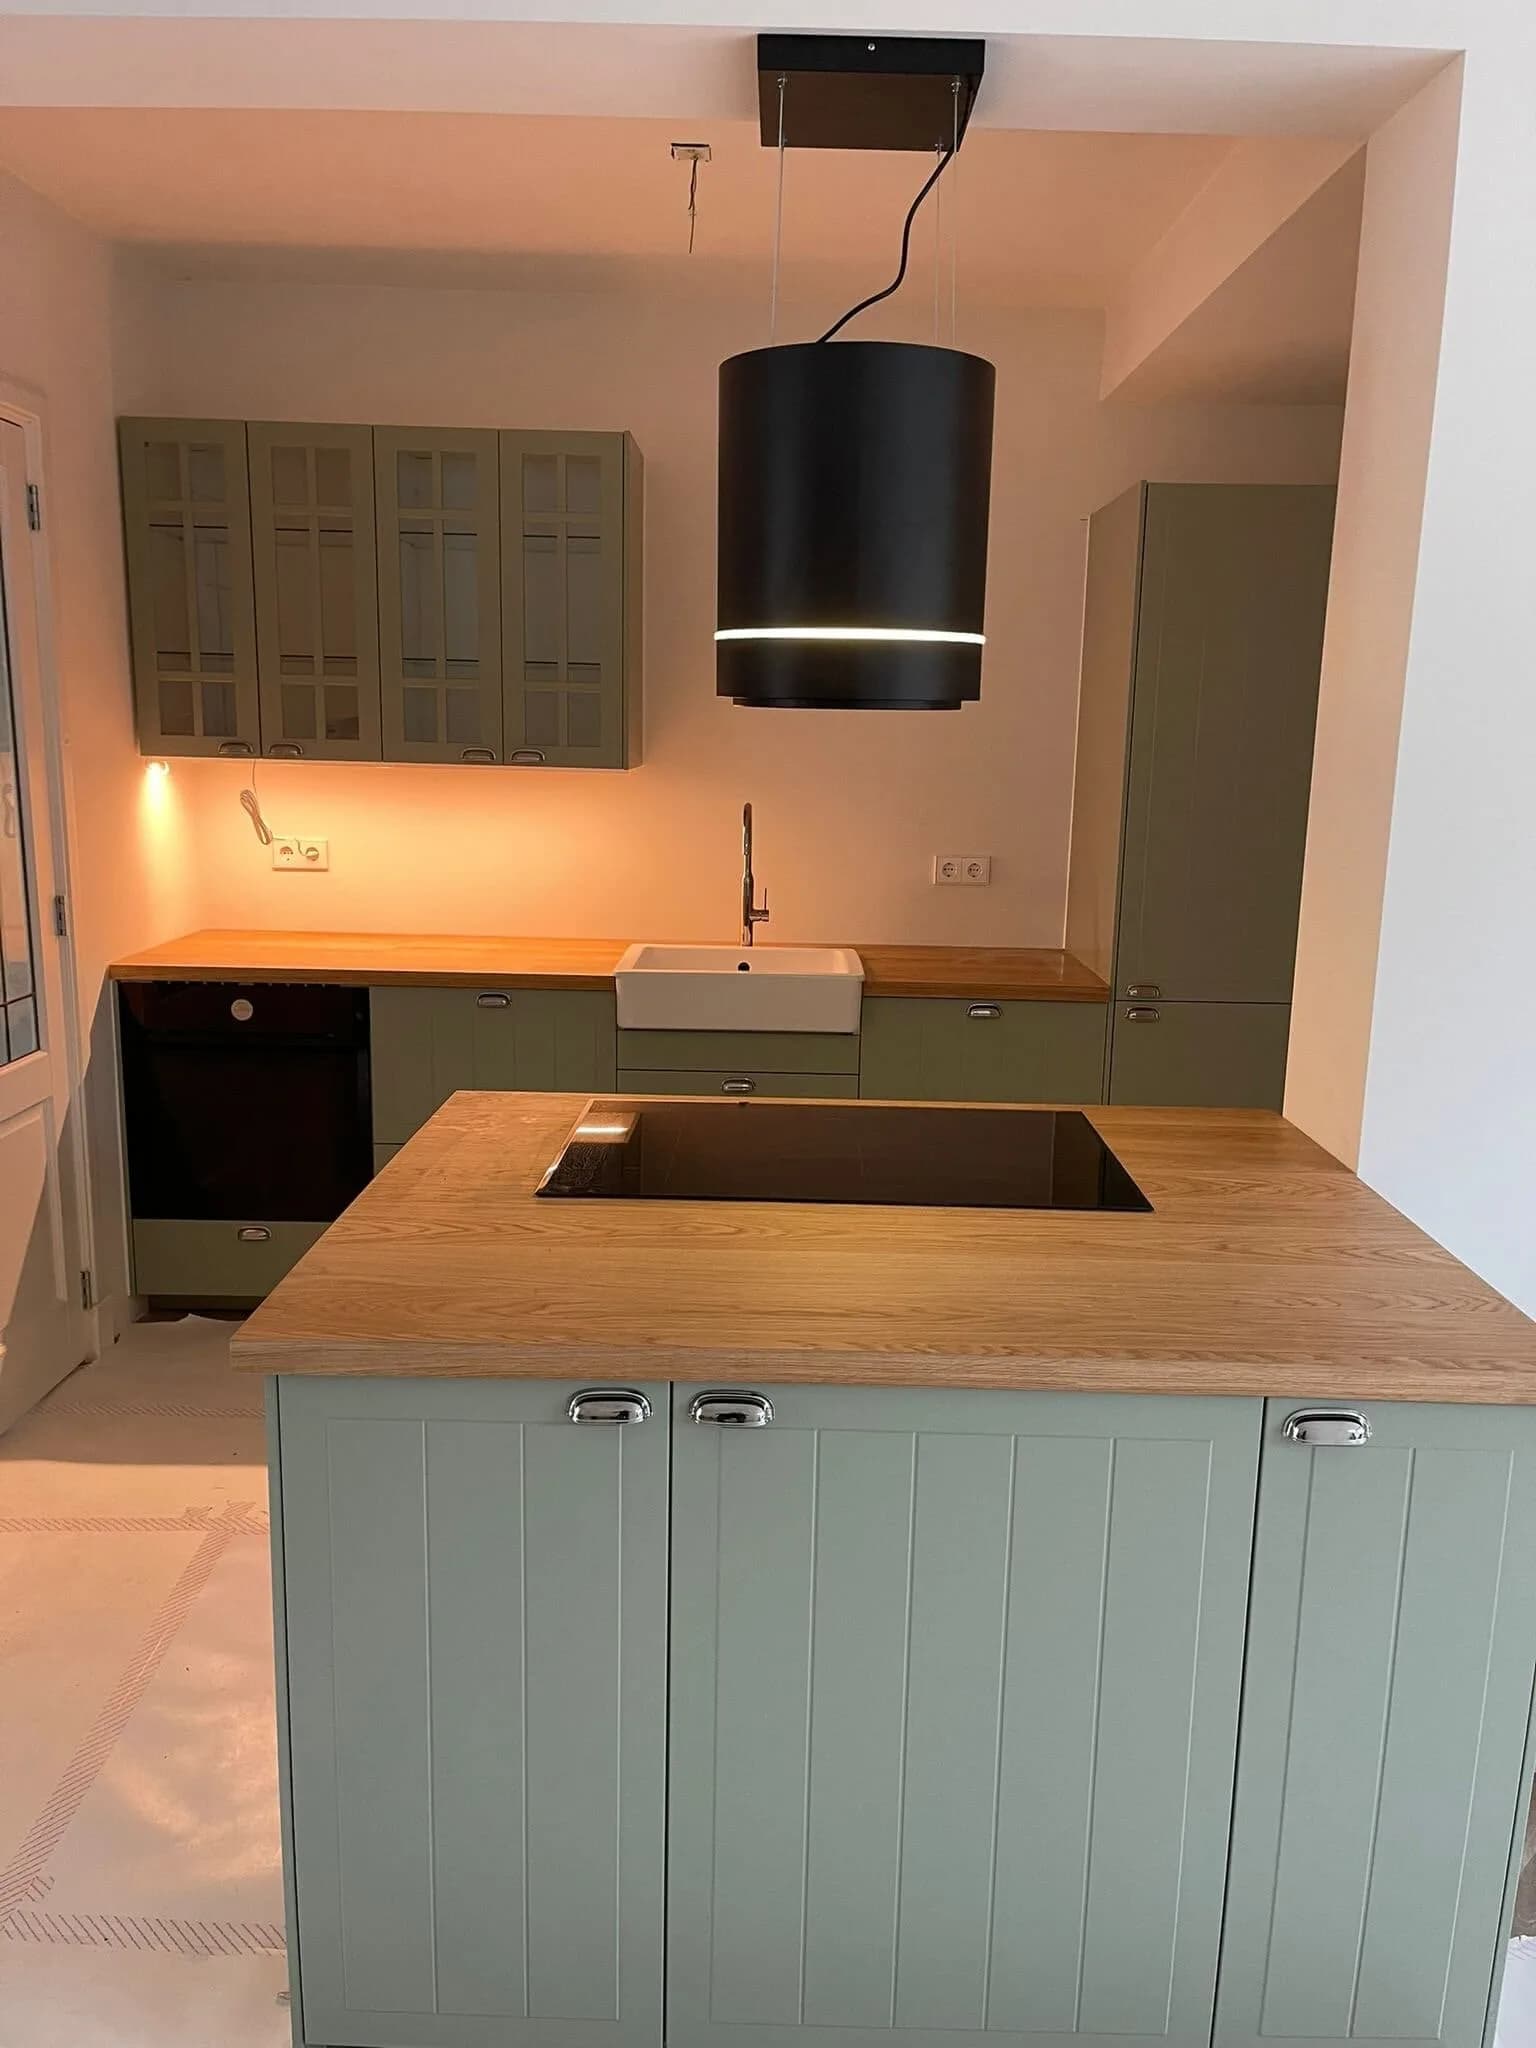
Finished kitchen installation — cabinets level and plinths cut to size

At a glance

What is and is not part of our kitchen fitting. The boundary is the hard-wired connection: anything that goes into an existing socket or outlet we do; anything that has to be wired in permanently or coupled to a gas line we do not.
ItemWe do itNotes
Suspension rail, carcasses and levelling feetYesRail level across the full wall, carcasses then joined and set
Fronts, drawers and hingesYesAdjusted in three directions, soft-close and push-open tested
Laminate or timber worktopYesCut to length on site, cut-outs from the template, every cut sealed
Composite, quartz, ceramic or graniteNoMeasured on site and wet-cut in the workshop by the stone supplier
Placing and aligning built-in appliancesYesVentilation clearance kept as the maker specifies
Hard-wired electrical connectionNoA hob without a plug belongs on its own circuit, done by an electrician
Gas connectionNoAlways by a registered installer
Water and wastePartlyConnected to existing points; new pipework by a plumber
Plinths, cornices and end panelsYesCut to size, filler strips where the wall does not run true
Removing the packagingYesCardboard flattened, polystyrene out, all away in one trip

Price

On request

One fixed price up front, calculated from your order list rather than from a rate card. We fit the built-in appliances and plug them into an existing socket or an existing three-phase cooker outlet. A hard-wired connection is work for an electrician, gas for a certified installer.

Practical

Duration
1–2 days per kitchen
Coverage
Across the Netherlands
Payment
iDEAL · card · invoice

On the job

Three things that only show up after the fitting day

A kitchen still settles

In the first weeks after fitting, something about a kitchen changes, and that is normal. The humidity in the room shifts as soon as cooking and washing up begin, chipboard and veneer respond to it, and the hinges of heavy fronts drop a fraction. So we adjust every door at the end of the day and explain how you check it yourself: the front screw for left and right, the middle one for depth, the third for height. On non-IKEA kitchens it works identically, see kitchen assembly for every brand.

The corner is where it goes wrong

Nearly every kitchen has one corner, and there two doors collide, or a handle strikes the side of the neighbouring cabinet. That is not a manufacturing fault but a question of dimensions: a filler strip belongs between the corner unit and the cabinet next to it, so the door has room to swing without touching the other. We measure that clearance before hanging, with the handles in hand, because a long bar handle needs more room than a knob. We make the same judgement for bedroom wardrobes, see IKEA wardrobe assembly.

Forty boxes want an order

A complete kitchen arrives as dozens of parcels, and that stack decides how the day runs. On arrival we count everything against the delivery note, because a missing cabinet is better discovered at nine than at three, and we set the boxes out in fitting order: rail and carcasses by the wall, fronts and drawers further off, worktop flat on trestles. We flatten the cardboard and take it with us. For a whole room the logistics work the same, see office and living room assembly, and for a media wall in the same room BESTÅ television unit assembly.

Sources

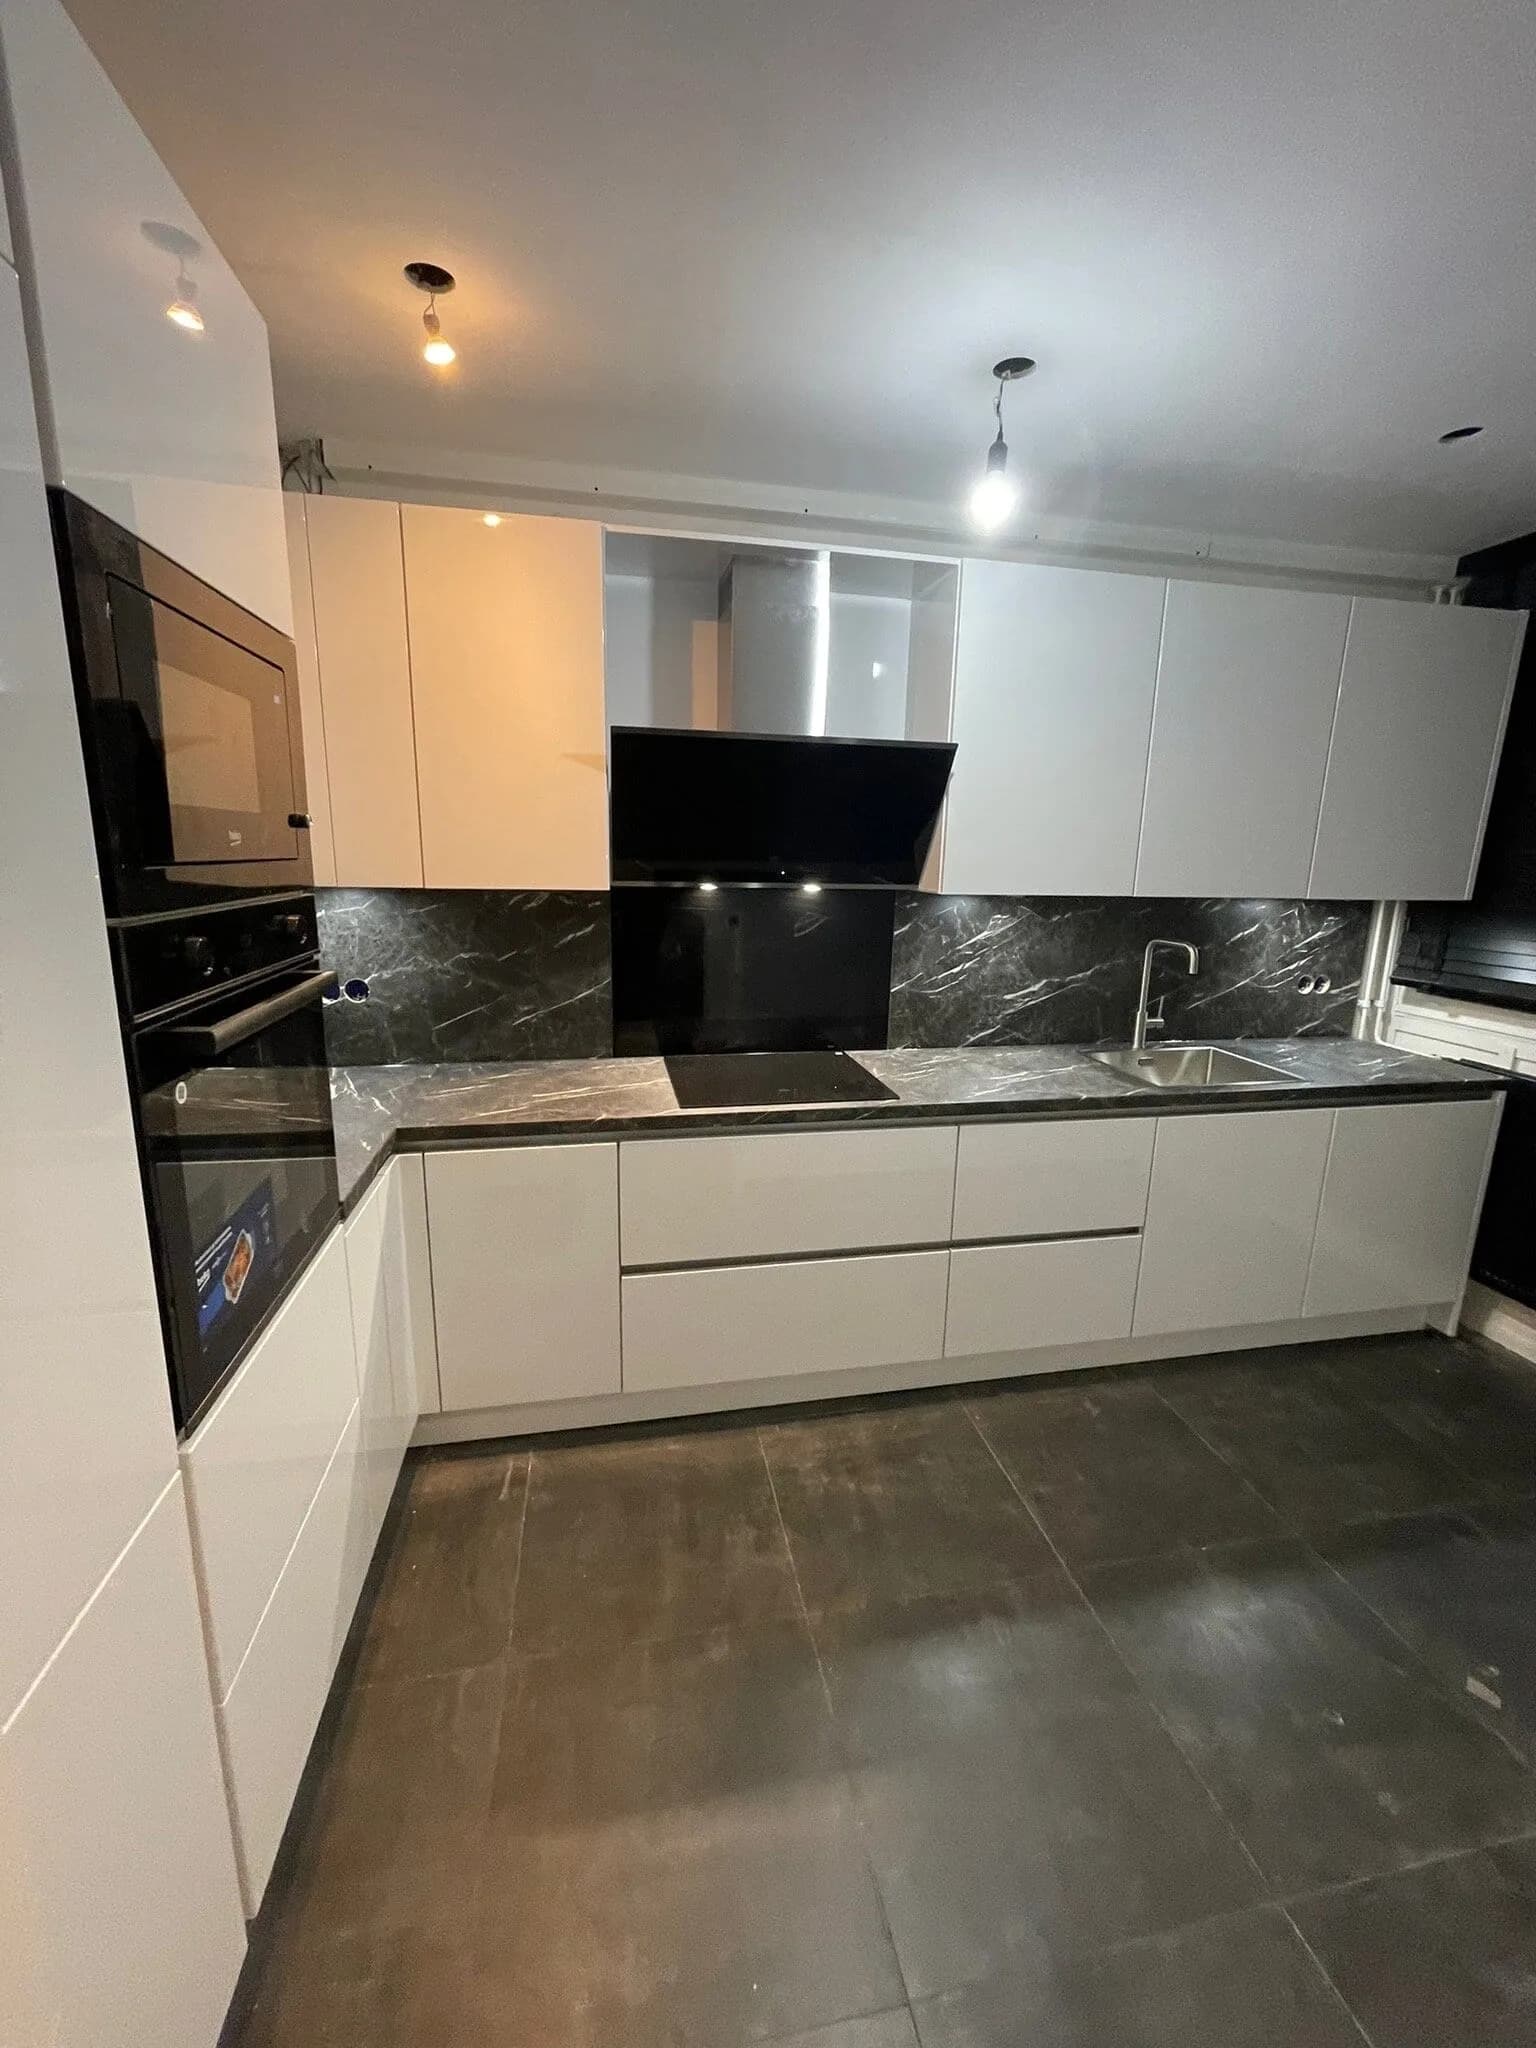
  • Close-up of an assembled kitchen with base and wall cabinets, worktop and plinths
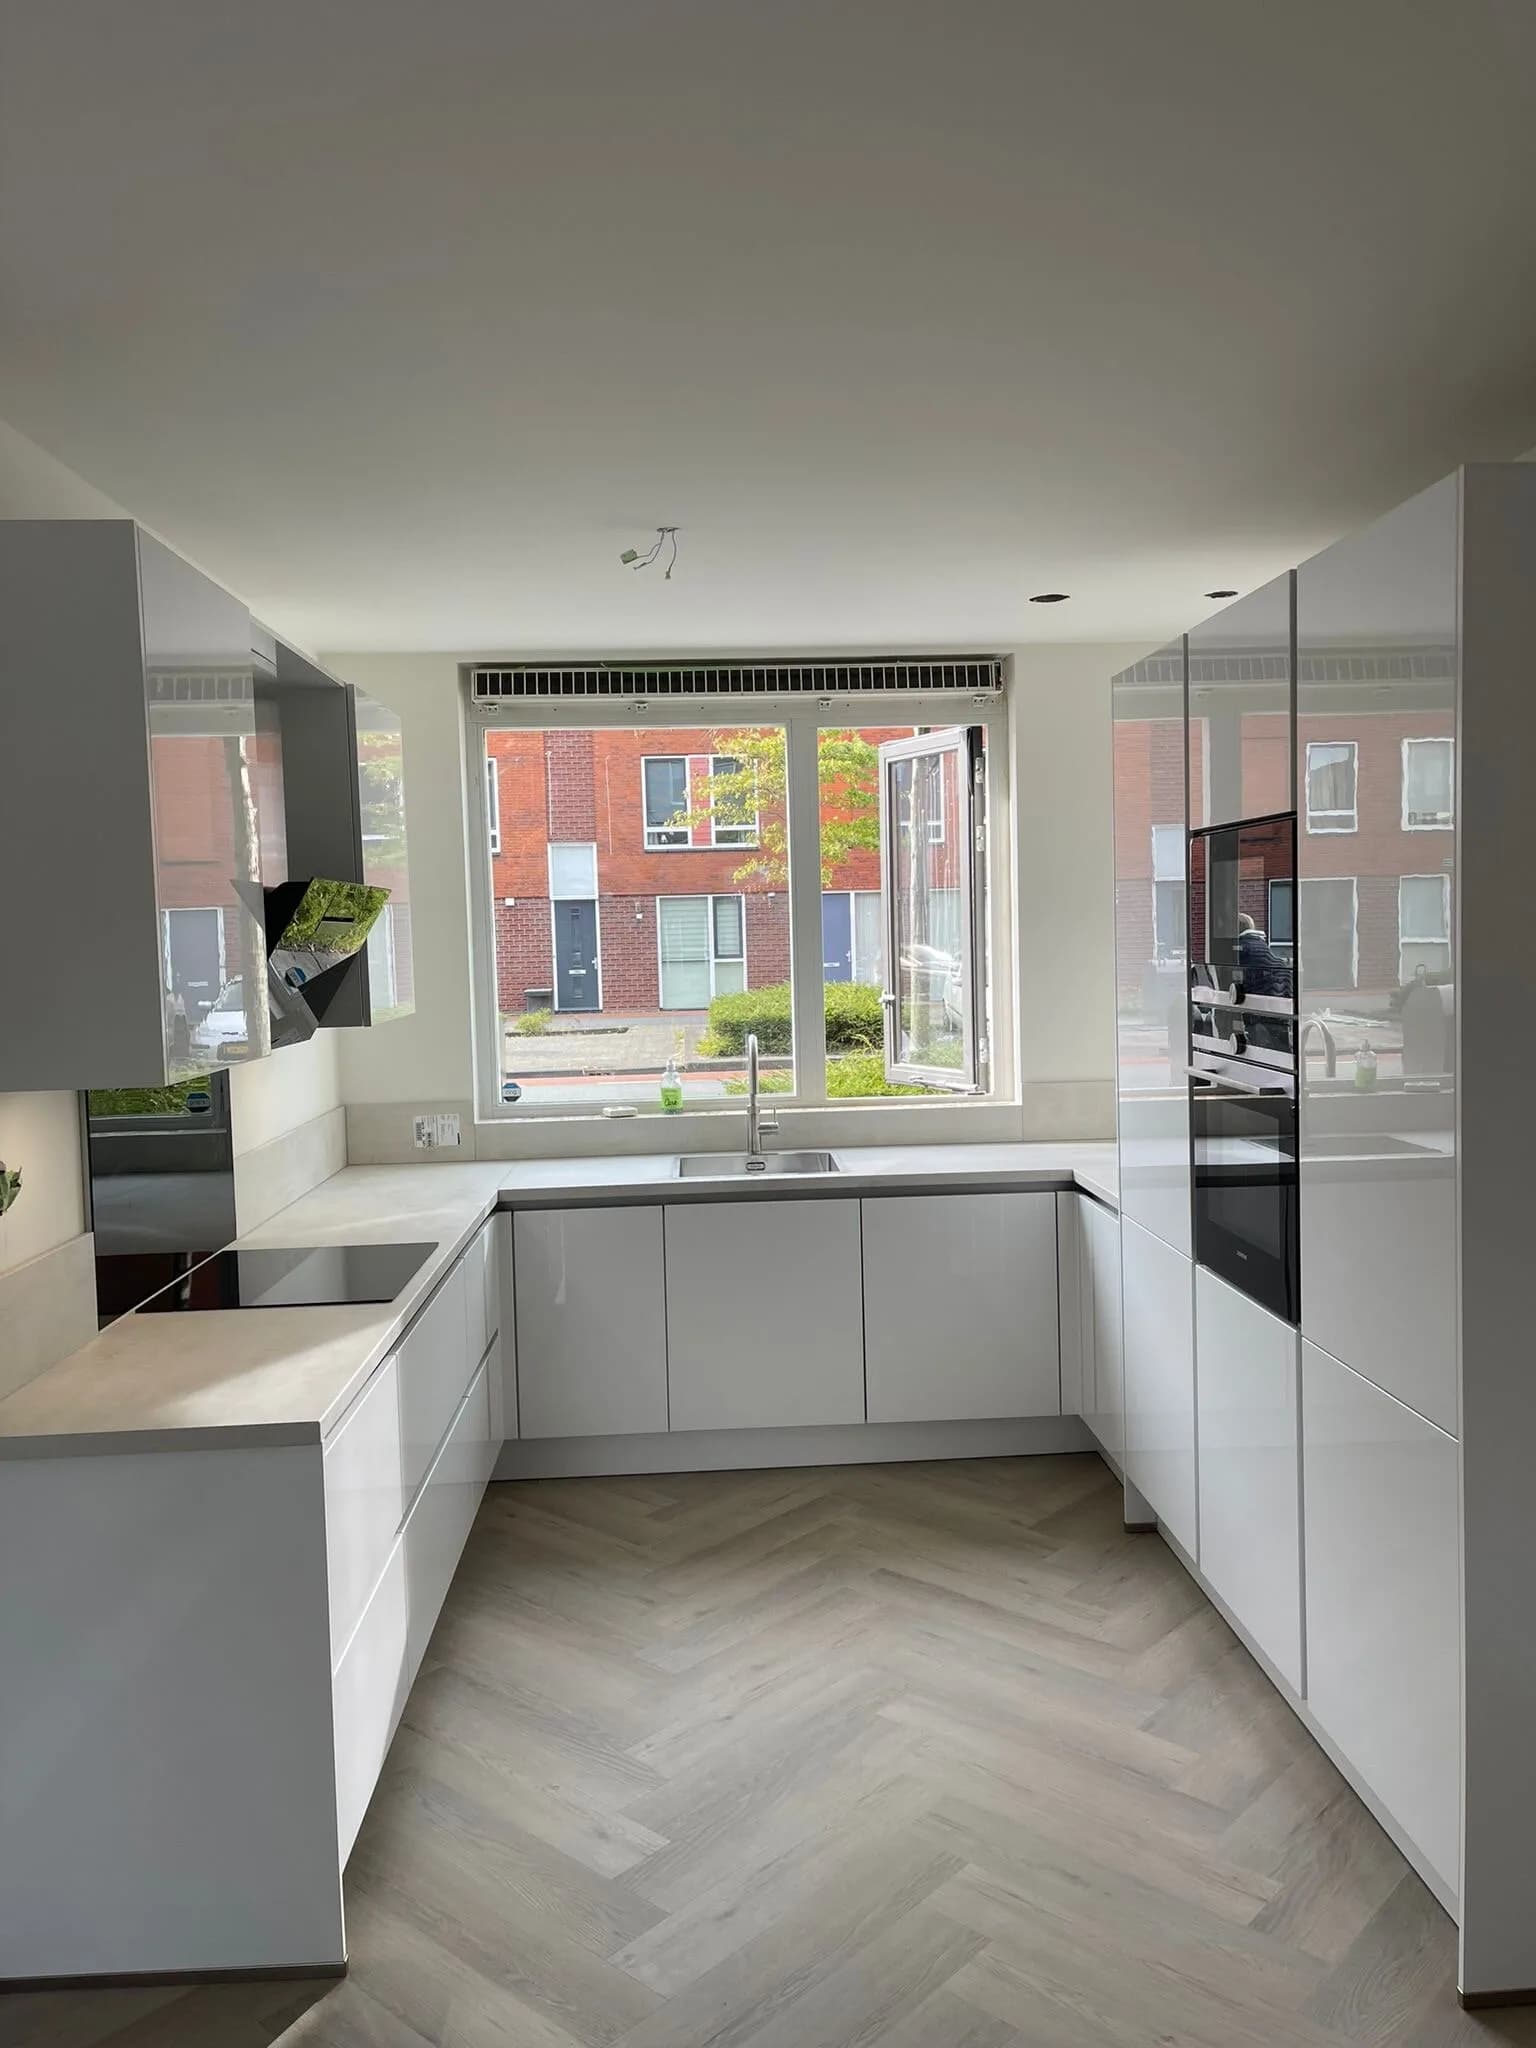
  • Fully assembled cooking island with worktop cut to size and plinths finished
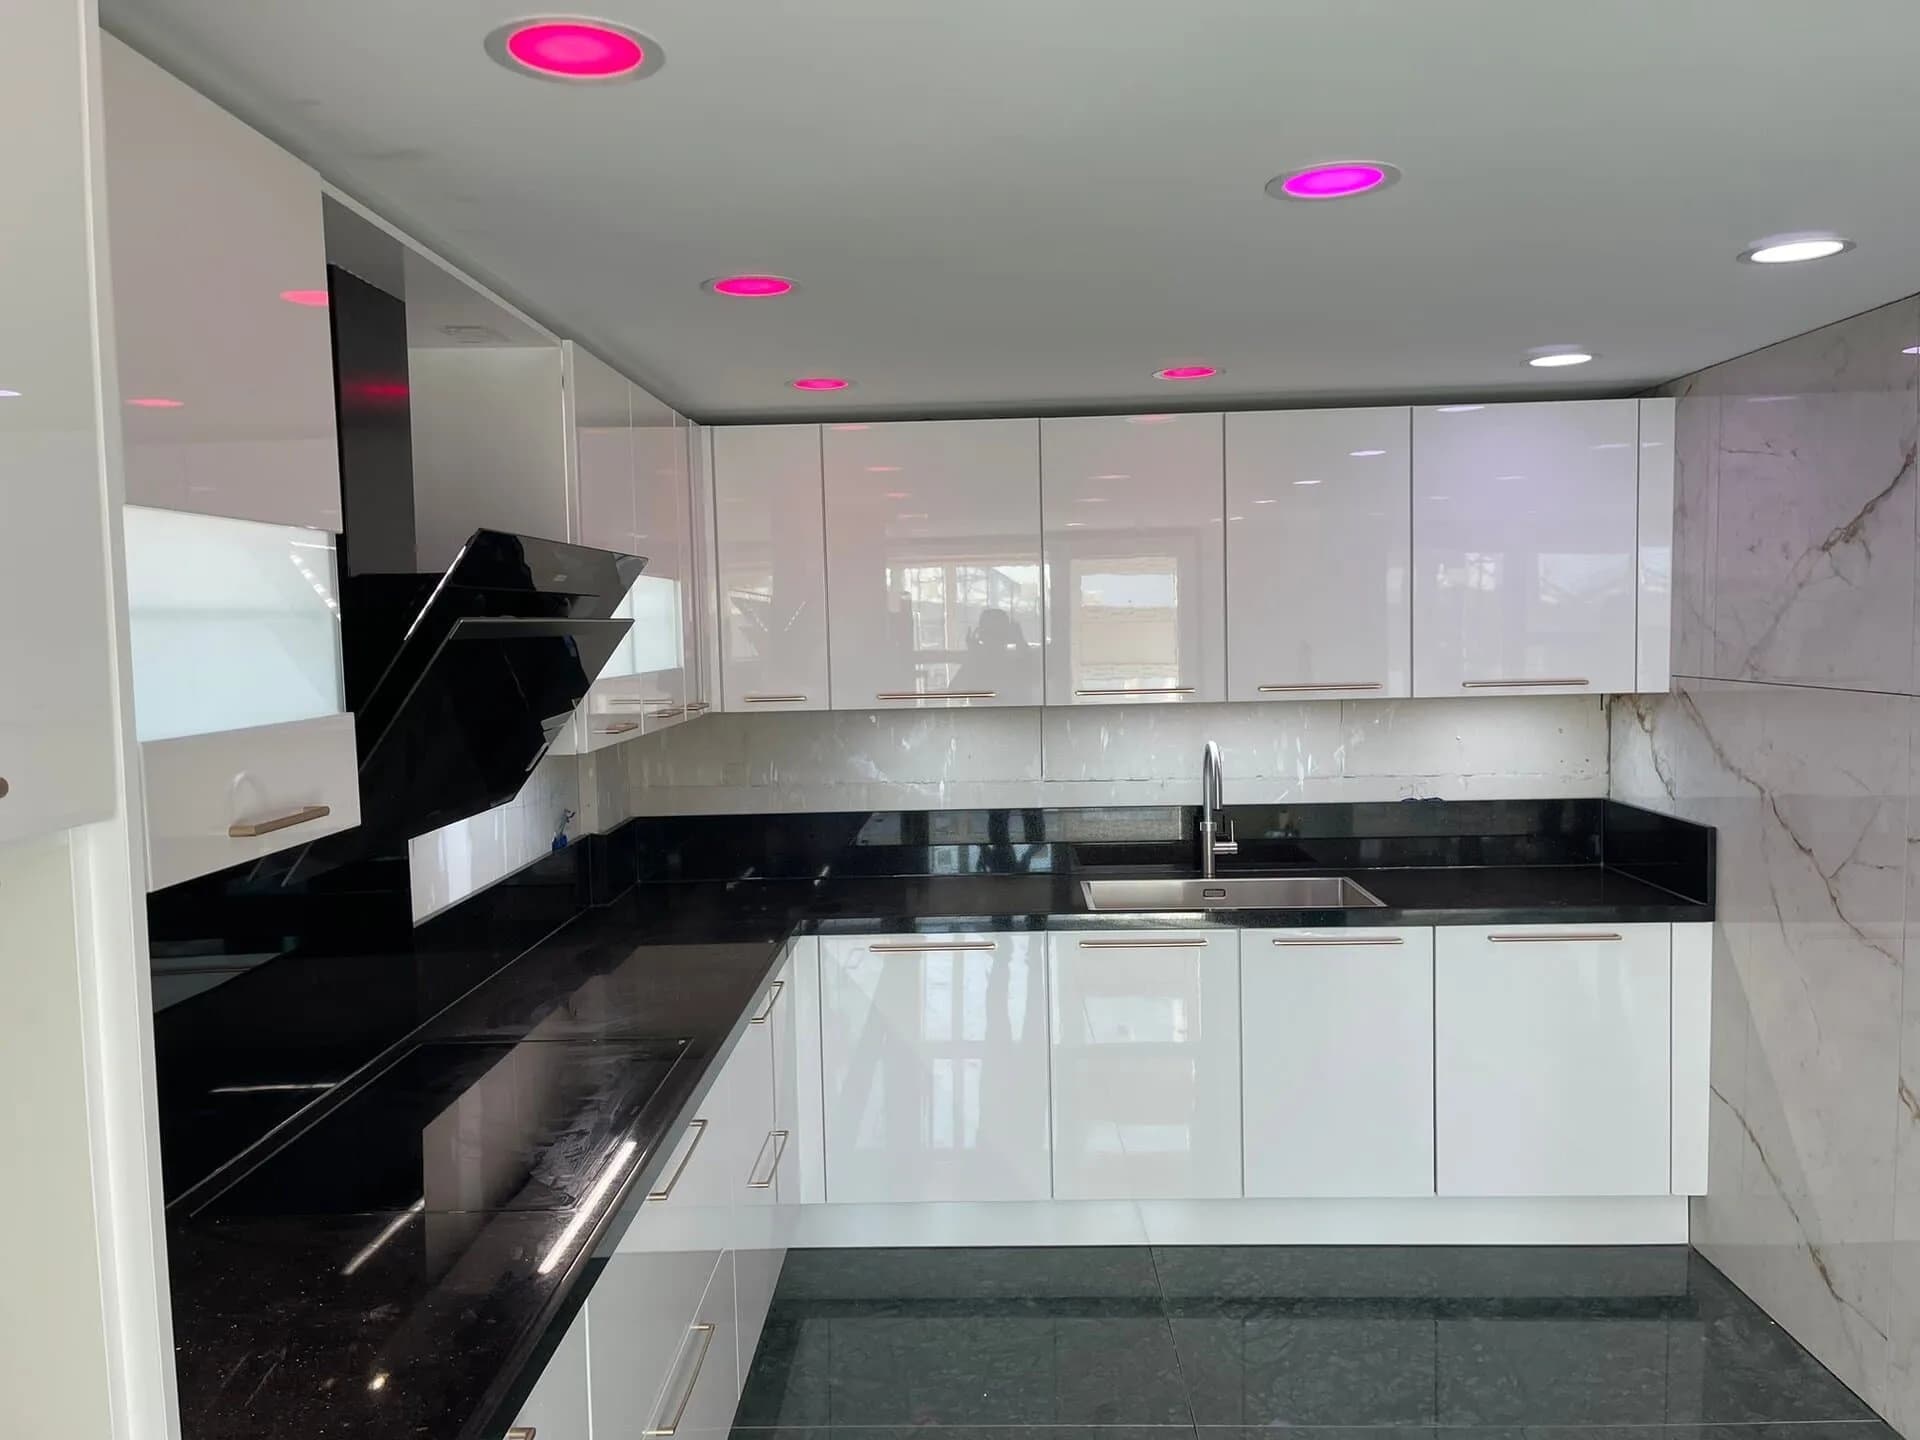
  • Finished kitchen installation — cabinets level and plinths cut to size

Questions

Frequently asked questions

Why is there no price anywhere on this site?

Because a rate that is correct for every kitchen does not exist. Eight cabinets with a laminate worktop is a day; the same eight cabinets with an island, three built-in appliances and four filler panels against crooked walls is a different job. We calculate the price from your order list and photographs of the room, and then it is fixed. What determines it: the number of base, wall and tall units, the number of drawers, corners and islands, the number of built-in appliances, the worktop material and the number of cut-outs, the number of filler panels your walls call for, the wall type the cabinets hang on, whether the room is ready, and the floor level and the lift.

How long does a complete IKEA kitchen take?

Plan on one to two days for an average kitchen. The morning is for the suspension rail, the wall units and the base units on their adjustable feet, midday for the worktop, the afternoon for appliances, fronts and drawers, and the last hour for plinths, filler panels and adjusting the doors. More cabinets, an island or a corner run push that into a second day.

Do you connect the appliances, including hob and gas?

We build the appliance in, align it and plug it into an existing socket or an existing three-phase cooker outlet. If your hob is supplied without a plug or cable it is a hard-wired connection, and that has to be made by an electrician on a dedicated cooker circuit to NEN 1010. Gas we do not do: for that we always refer you to a certified installer. Water we connect to existing inlets; new pipework we leave to a plumber.

What do I need to have ready before you come?

The floor, the tiles and the plastering finished and the walls painted. Water and electrics in the position the kitchen plan specifies. The boxes indoors in one room, the worktop flat and at room temperature. Beyond that, a parking space and a socket we may use. And do not take out your old kitchen until the new one has been delivered complete.

A part is missing from my IKEA delivery. What now?

First check whether your order was split into several deliveries, in which case the rest follows later. If not, report missing items within fourteen days through your order at IKEA. The six or eight digit part code is printed in the assembly instructions; small parts can be ordered separately or collected at the customer service desk. If you only notice it on the assembly day, we build everything that is there and discuss the remainder with you.

At what height does the METOD suspension rail go?

With an 8 centimetre plinth the lower rail hangs at 82 centimetres, with an 11 centimetre plinth at 85, measured at the underside of the rail from the highest point of the floor. The formula behind it is cabinet height plus leg height minus 6. We set the upper rail so there is 60 centimetres between the worktop and the underside of the wall units. Between the two rails there is then 120 centimetres at a kitchen height of 208, 140 at 228 and 160 at 248.

Why are no wall plugs supplied with the units?

Because IKEA does not know what kind of wall your kitchen will hang on. Their own guide puts it like this: because there are so many different types of wall, no fixings are supplied with your cabinets. We bring fixings for brick, concrete, aerated concrete and plasterboard and establish on the day what your wall is. If a wall cannot carry the cabinet, you hear that before anything hangs on it.

Do the wall units or the base units go up first?

Wall units first. You then work above an empty floor instead of reaching over a row of base units, and you see straight away whether the rail is right. The exception is a single-run kitchen with a tall unit at the end: that tall unit goes in first, because the rest lines up to it. We only tighten the screws fully once everything hangs and the run is aligned.

Close-up of an assembled kitchen with base and wall cabinets, worktop and plinths

Assembled within two weeks.

Send us your plan from the IKEA Kitchen Planner or your order confirmation, with photographs of the room. You will have a fixed price back within 24 hours.

Book an appointment

Last updated